
In Getting Started with Nuxt3 we started taking a look at Nuxt3 The Intuitive Web Framework, and started to get a basic understanding of what it is and some of it features it provides. I also provided some background as to why I would be making use of this framework, to basically breath new life into one of my dying side projects.
In this post, we going to dive a little deeper into project generated by the Nuxt CLI and start developing our project a little further by exploring some additional functionality that nuxt3 provides and use some useful CLI options.
Using Fleet Run Configurations
In Getting Started with Nuxt3 I also introduced the new IDE I have started using, Fleet by Jetbrains , for those who don't know Fleet in a way, could probably be regarded as Jetbrains' alternative to VS Code, essentially a fast and lightweight text editor for when you need to quickly browse and edit code.
Ususally I prefer to use Webstorm The smartest JavaScript IDE for all my Javascript projects, but I thought I'd take the opportunity on a new project to start using a new tool.
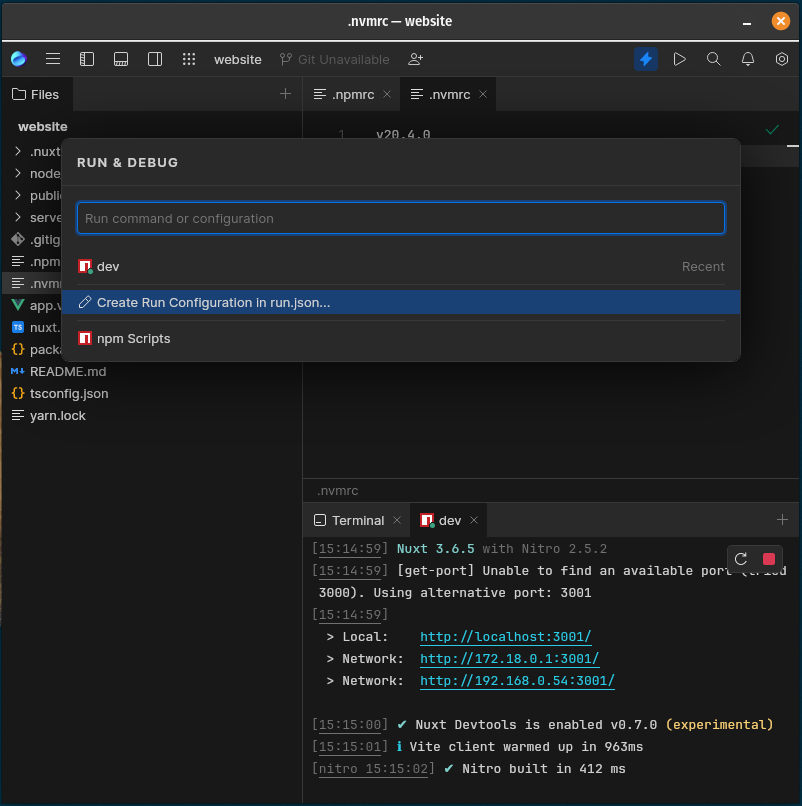
In the previous article, I used the terminal command yarn dev to start the project. I thought I'd also show you how to make use of the Fleet Run configurations to start your project from the IDE.
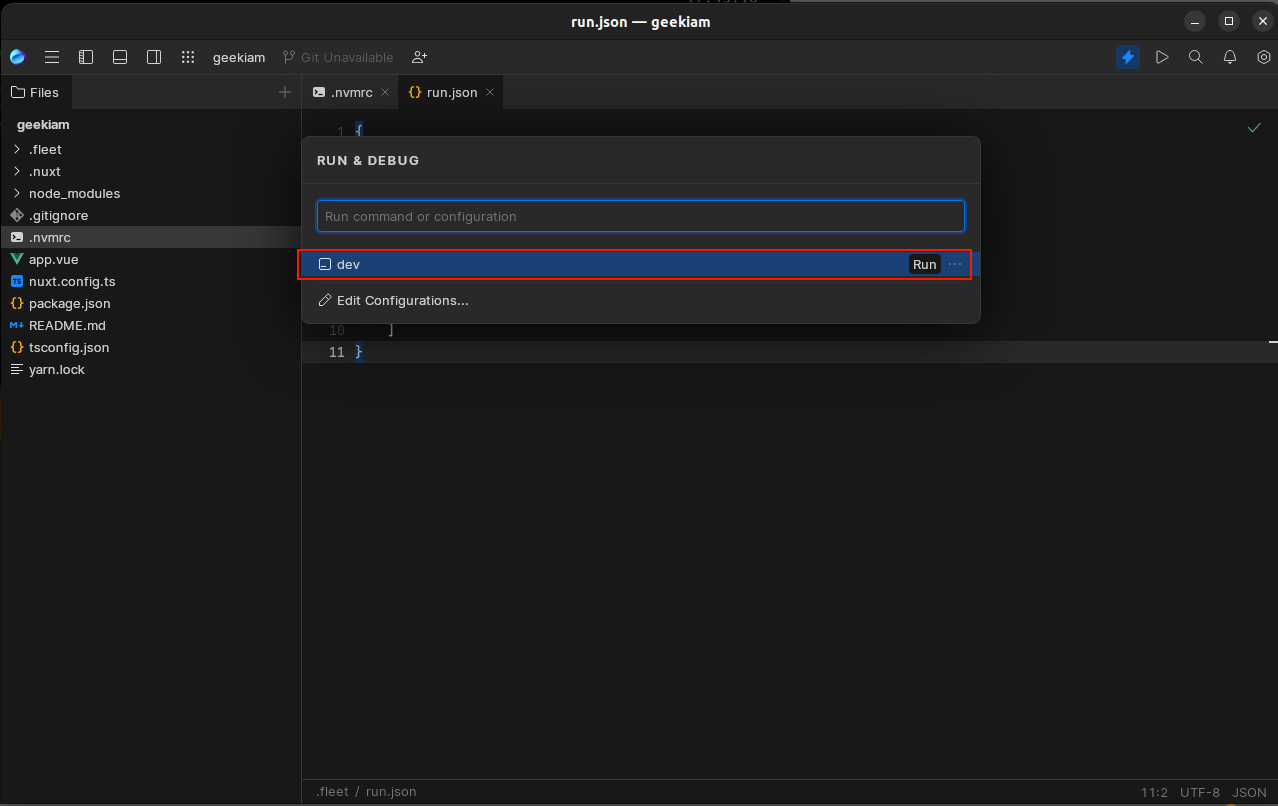
To do this we can click the Play button in the top right corner of the IDE in the Pop up box that is then presented we can click the Edit Configurations button
This will create a run.json file which we can add the following command details below. Essentially all we specifying that we are going to running a command, its type, name and the arguments required. Essentially we configuring Fleet to run yarn dev
{
    "configurations": [
        {
            "type": "command",
            "name": "dev",
            "program": "yarn",
            "args": ["dev"],
        },

    ]
}
We can save the file, and now when we want to start our project in development mode all we need to do is click the play button and select the command we created and this will start the project
Once the project is started a Terminal Window will open up to provide details of the operation executed and you will see 2 control buttons in the right hand corner to stop or rerun the command
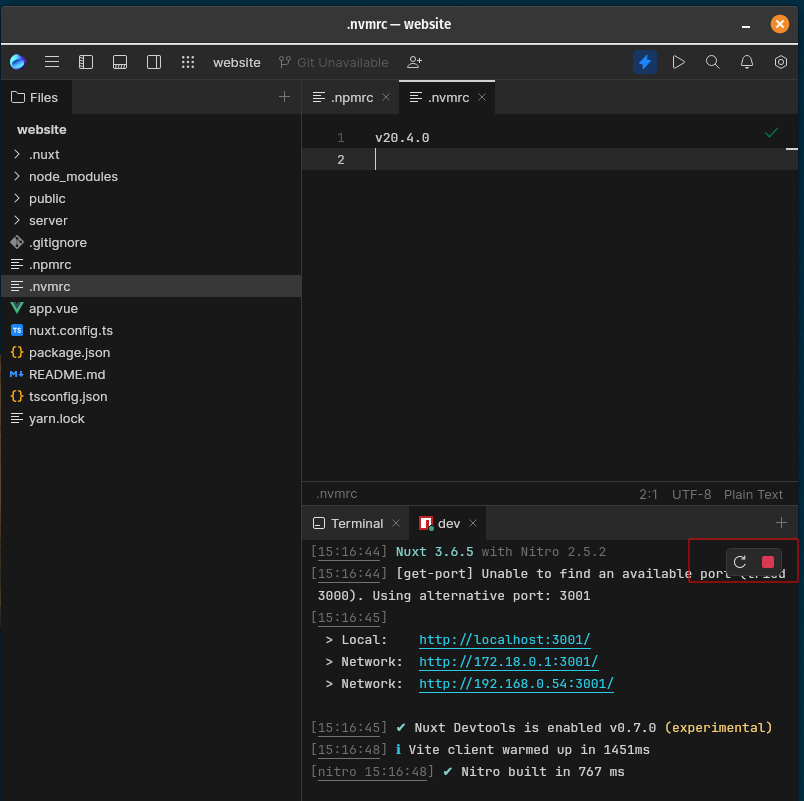
You can use this feature to run and manage any of the terminal commands that you will frequently use during your development operations. During the course of this tutorial series no doubt you'll see various opportunities as I have to use this feature quite frequently without having to remember the options.
Nuxt Minimal Project structure
When generating a new Nuxt project the CLI will generate what is termed a Minimal Project, essentially what this means is that you have just enough files required to create a very simple project. Essentially giving you a very minimal starting point for a project without over complicating your initial development experience.
Essentially, nuxt generates a project consisting of 6 files
- .gitignore
- app.vue
- nuxt.config.ts
- package.json
- README.md
- tsconfig.json

Well some of these files may be familiar to you if you've done any software project using node or other languages i.e .gitignore, README.md and package.json others are pretty much Nuxt Specific. For the purpose of this article I am only going to really discuss the Nuxt specific files and assume you're familiar with the others.
- How to add project specific node package management configuration options
- How to create git ignore files
The 3 files we're going to primarily focus on for the remainder of this post are:
- app.vue
- nuxt.config.ts
- ts.config.ts
Familiarisation with these 3 files is important because they will be the focus of a lot of your initial work going forward with your nuxt project.
Nuxt Config
The nuxt.config.ts is probably the most important file in your project at this stage, because this is where you will be configuring a number of your vital configuration options for your project. If we open the file in our IDE we'll see that its empty bar the export statement defining the Nuxt Configuration
// https://nuxt.com/docs/api/configuration/nuxt-config
export default defineNuxtConfig({

})
For the moment at least there is nothing to see here. Which is great from a new project perspective because that means we don't have to waste time removing a whole load of confusing default configuration stuff and working out if we actually need it or not. We'll be touching on more on thenuxt.config.ts as we progress through this series but for now all we have to know is that this is where we will be adding any additional configuration options and settings for any plugins and modules that out project will be making use of.
Typescript Configuration
Nuxt 3 has been developed from the ground up in Typescript and has a lot of built in TypeScript support. tsconfig.json file is where you can carry out any further TypeScript configurations on your project. For those who want to enforce any additional Typescript checks and linter settings etc this is where you will be performing these actions.
You can further customize the content of this file with your preferences. We will be making adjustments to this file as we progress this series articles but for now we will leave it as it is.
There are however, a few import points to be mindful of if you do carry out customisation, it is recommended that you don't overwrite target, module and moduleResolution settings in this file
If you need to customize your paths, this will override the auto-generated path aliases. Instead, it is recommended that you add any path aliases you need to the alias property within your nuxt.config.ts, where they will get picked up and added to the auto-generated tsconfig.
{
  // https://nuxt.com/docs/guide/concepts/typescript
  "extends": "./.nuxt/tsconfig.json"
}
App.vue
The final file we'll take a look at and first bit of Editing we're going to do in this article is the app.vue , which is the main component of Nuxt apps. Essentially this components acts as an entry point for when the application is.
You may recall when in Getting started with Nuxt 3, we started the application after creating it we were greeted with a screen when navigating to http:localhost:3000.
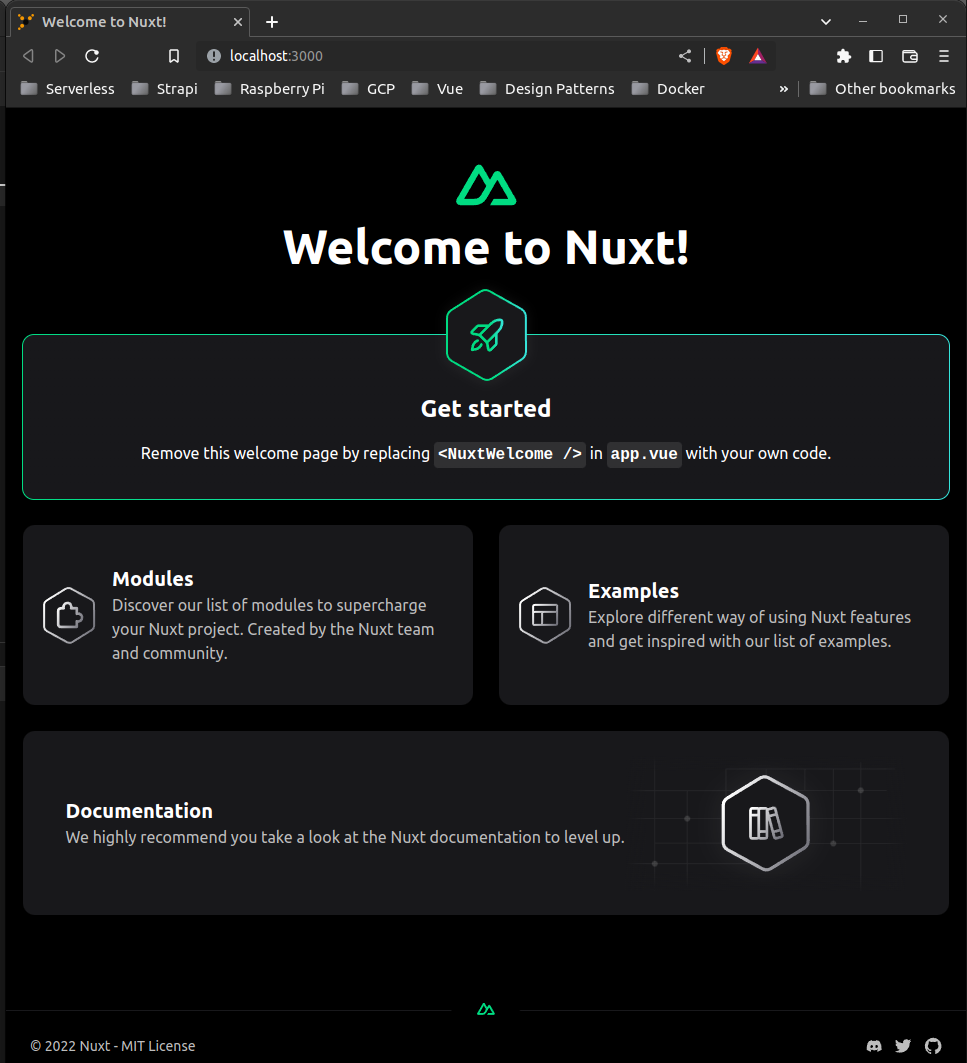
What was essentially displayed was the App.vue component which in turn was displaying another component the NuxtWelcome component. Which is a component provided by Nuxt for demo purposes. If we take a look at the app.vue code we'll see that it looks as it is below.
<template>
  <div>
    <NuxtWelcome />
  </div>
</template>
We going to edit this file, because obviously we want our application to do more than just provide advertising space for Nuxt. Let go ahead and remove the <NuxtWelcome /> component.
What we want to do in our Instance is create a Default layout and our initial Index page. In order to do so we will make use of the Nuxt Command Line (nuxi) which we introduced in Getting Started with Nuxt 3 and we're going to use 2 commands it provides.
Using nuxi add
The first command you're likely to become very familiar with when working with Nuxt is the nuxi add , which enables you to create a number of specific componets etc with nuxt.
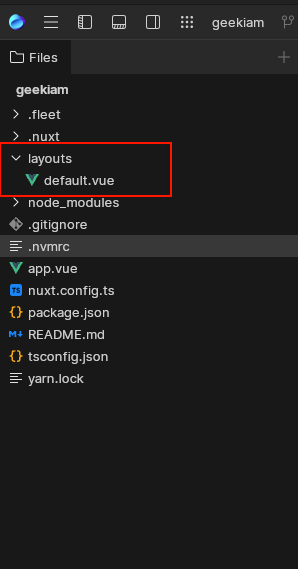
The first thing we'll create is a default layout , which we will use to provide a general look and feel for out application and as its name implies a default layout. We'll do this by using the command below
nuxi add layout default
The output of this command will result in a new layouts folder containing our default.vue component added to your application. We can edit the default.vue component to whatever we need
<script lang="ts" setup></script>

<template>
  <div>
    Layout: default
    <slot />
  </div>
</template>

<style scoped></style>
We can now create our first Index page of our application using a similar process using the command below
nuxi add page index
The output of this command is similar to the layout, and a new pages folder which includes the index.vue component with a basic structure ready for us to start editing

<script lang="ts" setup></script>

<template>
  <div>
    Page: foo
  </div>
</template>

<style scoped></style>
For the time being we're not going to change much on these files and we're going to turn out attention back to the app.vue file and add some additional code in order for it to start interacting with out two new components.
<template>
  <div>
     <NuxtLayout>
       <NuxtPage/>
     </NuxtLayout>
  </div>
</template>
The NuxtLayout is a component provided by Nuxt to enable and activate a default layout on app.vue. It's worth taking read of the Nuxt documentation NuxtLayout to understand a bit more about this component, although we will be touching on it a little more as we work through this series of articles.
The NuxtPage is another component provided by Nuxt, it is used to display top-level or nested pages located in the the pages directory. it too is detailed further in the documentation NuxtPage
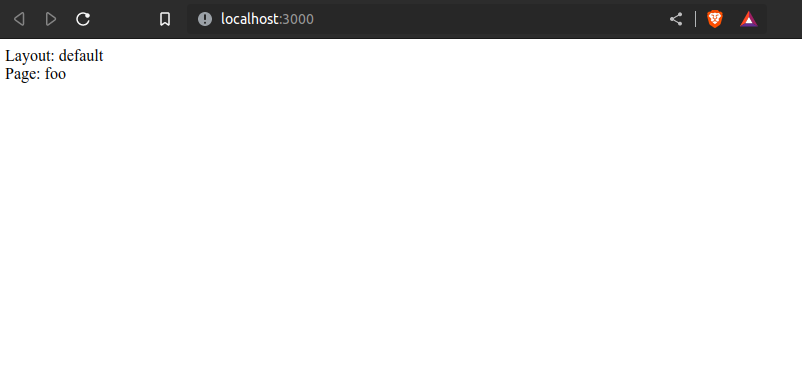
If we now run the application again we'll see that we all our new components are being used. Although the results will be fairly disappointing we have managed to create a Default layout for out application and the Index page and all we've had to do is use the nuxi tool and make some minor edits.
Conclusion
In this article we took a closer look at the Minimal Project Structure that is provided after generating a new project using the Nuxt Command Line Interface (nuxi) and how we can also use nuxi to add new items to our project. We also took a quick high-level overview of some of the most common components you're likely to start using on your journey with nuxt.
In the next post in this series we will take a look at How to use Layouts in Nuxt 3 to build further on the knowledge we have gained so far and start creating the base layout we will want to use for our website

- What is this Directory.Packages.props file all about? - January 25, 2024
- How to add Tailwind CSS to Blazor website - November 20, 2023
- How to deploy a Blazor site to Netlify - November 17, 2023