
The original implementation of our corporate website for threenine.co.uk was implemented making use of WordPress and at the time we were making use of WooCommerce to not only sell services but back in 2012-2016 we actually had a thriving minor eCommerce store selling various consumer and corporate IT equipment like laptops, tablets, network switches and the like. In more recent years we switched to using it to focus on software development consultancy services.
We found attempting to change and remodel our WordPress website to become a challenge and the truth is we just wanted to simplify the whole approach. WordPress is a great platform but reality maintenance and transformation is difficult process.
As you could imagine who also had numerous bots, threats and security issues to deal with. Primarily based on because WordPress is such a great popular platform to use to literally launch any business, it is a prime target for nefarious characters to target, because of the copy and paste exploit scripts that are available all over the internet, because unfortunately most organisations often don't maintain or administer their websites once they're up.
We found we were spending vast amounts of time administering our website, for very little gain over time. We were looking to migrate to a more manageable solution and adopt more of the latest technologies to explore what we want to do.
This is where I stumbled across Nuxt3 and Vue3, and this could be an ideal time to learn about those. In going through this process there were also a number of new tools, concepts and frameworks we wanted to become more familiar with. Concepts like Microsites and static sites and especially not having a website that relies on a database backend.
Prerequisites
To follow along with this tutorial you will need the following already installed:
- NodeJS - to install Node just on your machine I recommend doing so with Node Version Manager -
How to Install Node Version Manager on Ubuntu Linux
What is Nuxt 3
Fundamentally Nuxt 3 is a complete rewrite of the Nuxt.JS framework, with a number of differences from its predecessor. Nuxt 3 has become so much more than just a Static Site Generator (SSG) than it's predecessor was, it now aids developers to implement full-featured client/server apps and provides the ability to decide on the rendering strategy for each page.
The most notable differences between Nuxt 3 and the first versions of Nuxt are:
Complete Typescript rewrite
The most notable difference is that Nuxt 3 has been completely rewritten in Typescript, which will undoubtedly provide improved maintenance and Typescript support going forward.
The static type system will help to prevent many potential runtime errors as your applications grow over time. Typescript continues to gain popularity and more systems, projects and frameworks are adopting it.
It is possible to continue to develop using Nuxt 3 using plain Javascript, but I won't be doing this and will be making use of Typescript.
Vue 3
Vue 3 was released in October 2020 and has since garnered a lot of praise from the Vue community. With Nuxt 3 being written in Vue 3, you get access to features like the Composition API, better module imports, and overall improved app performance.
Vue 3 is faster, smaller in file size, and equipped with improved TypeScript support. Vue 3 also come a raft of some new cool features:
- Composition API
- Improved Reactivity
- Portals
- Suspense
I won't elaborate on more on these features in this post, but we dig deeper into them as we progress through this series of articles and particular how we can make use of these features using Nuxt 3.
Improved Developer experience
Nuxt CLI
The Nuxt CLI (known as nuxi) helps you scaffold entirely new projects with zero effort. The CLI now comes with a new modules interface built-in, and it helps you run commands faster and more efficiently.
A nuxi was introduced to provide a no dependency experience for easily scaffolding your Nuxt projects.
Nuxt Suspense
Suspense is a special component that renders fallback content instead of your component until a condition is met. This condition is usually async operations happening in your components. This is implemented making use of the Vue3 Suspense
New Server Engine
The new Nuxt 3 server engine called Nuxt Nitro is a platform-independent and lightweight server that has no Nuxt runtime dependencies. It unlocks new full-stack capabilities for Nuxt by allowing you to create API routes like you would create pages directly in your Nuxt app.
This feature enables Full-stack capabilities with Nuxt enabling the creation of API routes, middleware and routing features.
This makes Nuxt applications lighter and faster and is the first JavaScript application server that is portable across a variety of modern cloud-hosting providers such as Netlify, Vercel, Cloudflare, etc.
How to start a new project with Nuxt 3
Thats enough talking about Nuxt and how cool it is. Lets start getting busy with this framework to explore more and get familiar with it.
To start a new project we can make use of the Nuxi CLI via the npx
What is npx ?
Node Package Execute (npx) is available by default wit NPM starting with version 5.2+, enabling the execution of any package from the packages repository without the need of installing that package locally on your machine.
This means we can execute the Nuxi package without having to install it locally.
What is Nuxi ?
Nuxt Command Line Interface (nuxi) is a set of terminal commands available enabling you to interact with the Nuxt framework to perform tasks and develop.
As mentioned previously there is no need to install nuxi or anything on your machine locally and as long as you have node and npm installed on your machine you're pretty much good to go. To install node and node version manager on your linux machine you might want to check out these articles
Once you have node and npm available on your machine you can start a new nuxt 3 project using the following terminal command
npx nuxi init name-of-your-project
In my case will simply use the command below with the name of may project, as website
npx nuxi init website
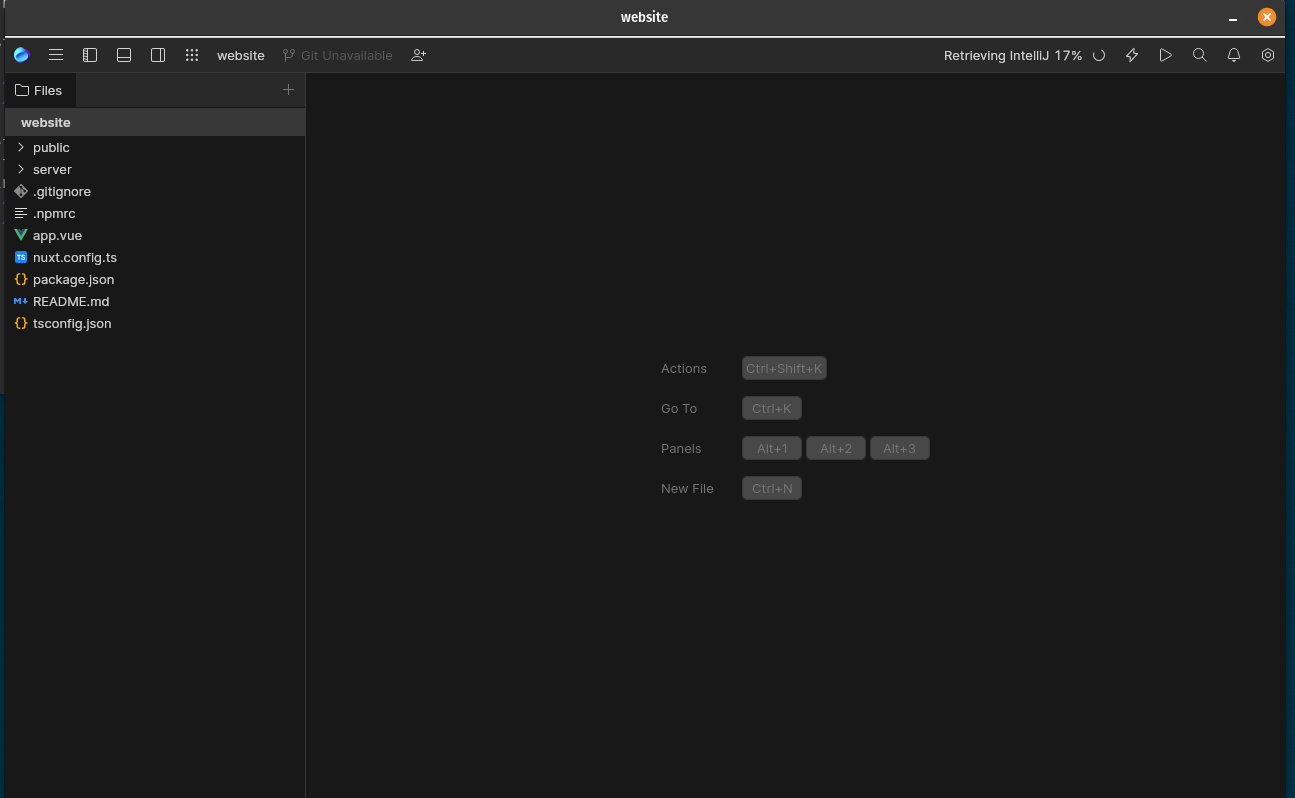
Once you project has completed generating, change into the directory created and open the project in your preferred IDE. In my case I will be making use of use of Jetbrains Fleet which is very similar to VS Code.
cd website
fleet .
This will open the project and we should see the very Minimal Project layout
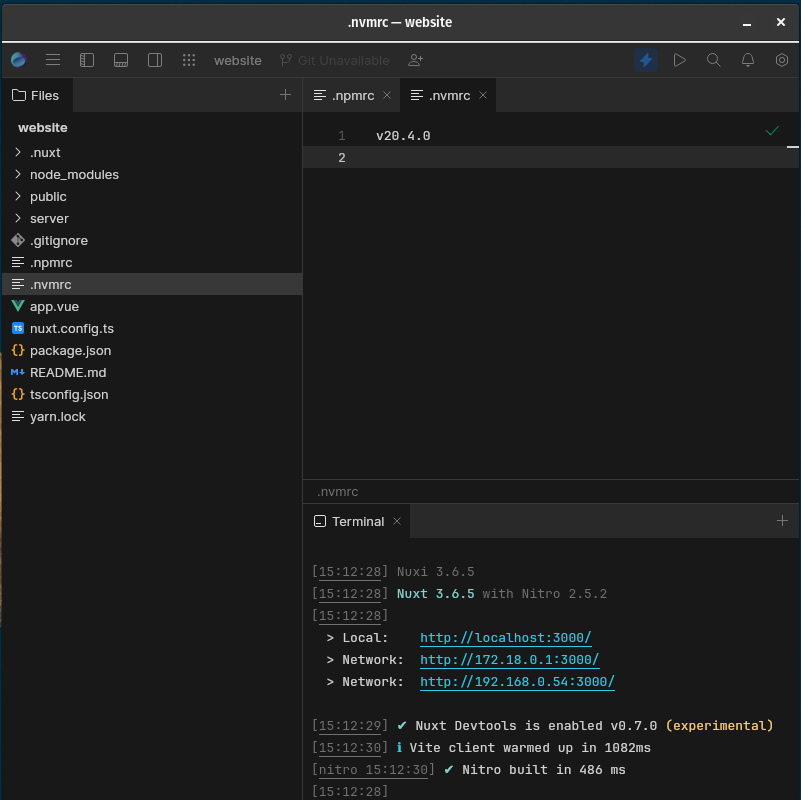
I generally make use of Node Version Manager and generally one of the first things I do when starting new projects is create an .nvmrc which helps to define a particular version of node that you would like to use for your project. I recommend using Homebrew on Linux to install NVM
After creating an .nvmrc file in the root of your project directory, enables you to simply run commands like nvm use, nvm install and nvm run which relates to the default node.js version defined in .nvmrc file.
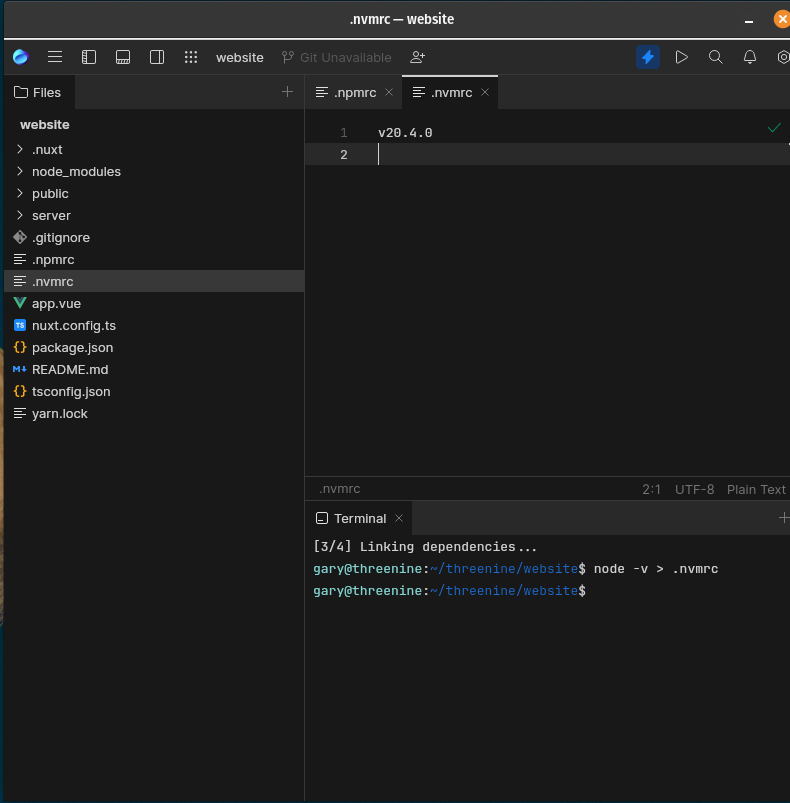
To create an .nvmrc file with the version of node you're currently simply use the following terminal command
node -v > .nvmrc
This will create a hidden text file with the version of node you are currently. I generally use most current LTS version, which at the time of writing is v20.4.0
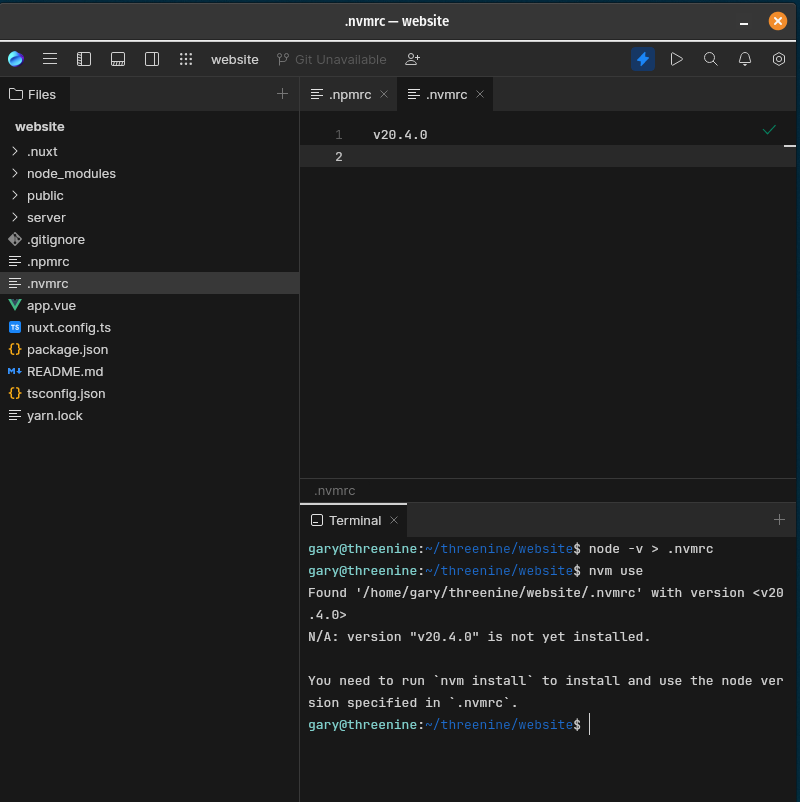
We can now make use of the nvm use command to ensure our project will make use of the version of node we want. If the version is not currently installed in nvm we will be prompted to install it first and then install it, as is the case below.
We can execute them commands nvm install and nvm use to set up our environment.
I have become to prefer to make use of Yarn as my package manager of choice, so I just need to ensure that I have Yarn installed for my version of node I have installed. simply executing npm install -g yarn
Any of your preferred package managers can be used here, i,e, npm, pnpm etc I'm just going to use yarn
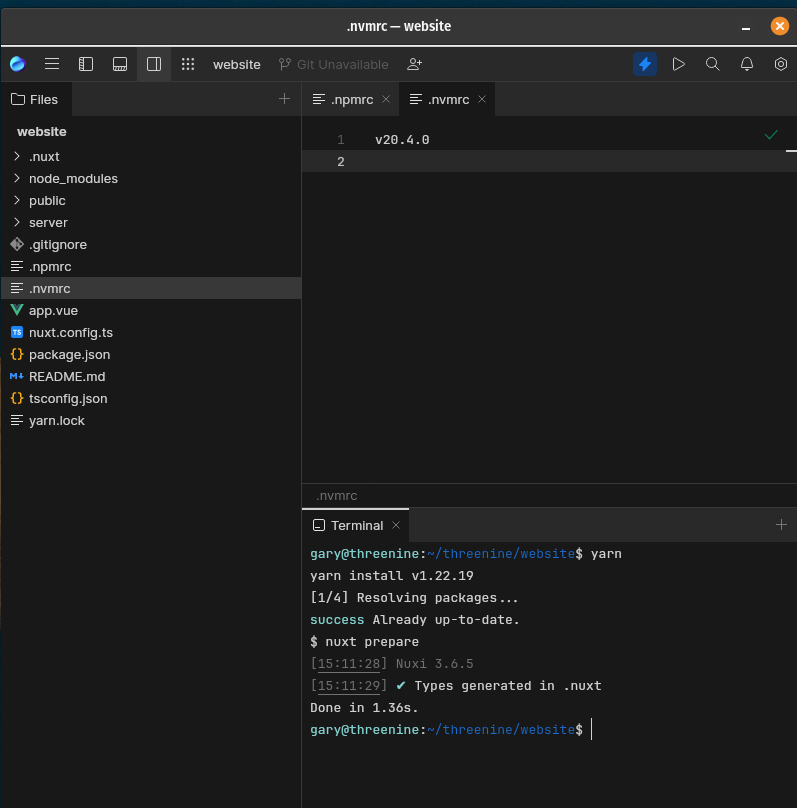
We now install our dependencies for your project using yarn install
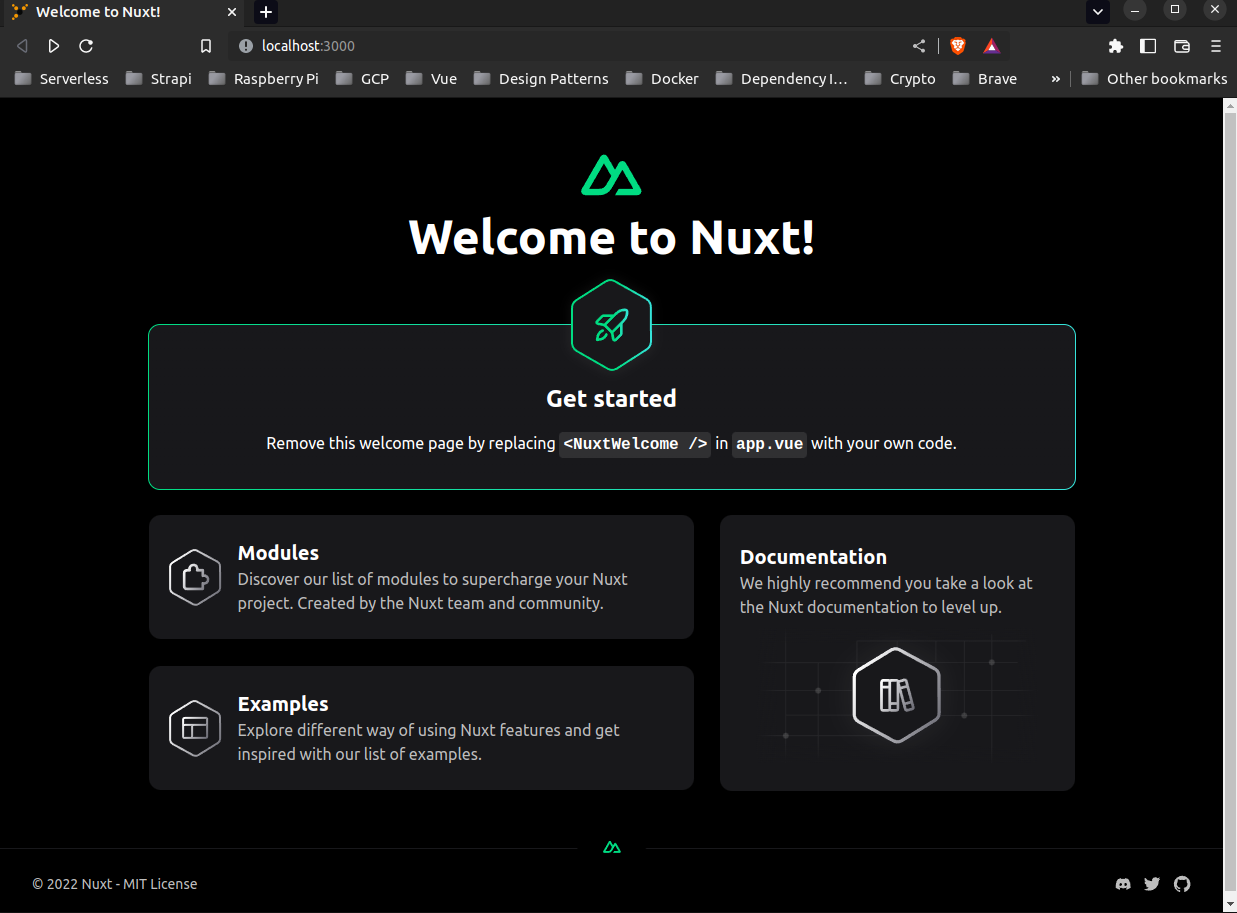
We can use yarn dev to start the development instance of our new project and even browse to it in our browser
If we click on the link it will open our Example site in the Browser
Conclusion
That is as far as we're going to go in this post, because there is a lot to explore with nuxt, in understanding Nuxt 3 minimal project structure we take deeper dive into the project structure and explore how to start developing with it and learn some more capabilities provided to via nuxi.

- What is this Directory.Packages.props file all about? - January 25, 2024
- How to add Tailwind CSS to Blazor website - November 20, 2023
- How to deploy a Blazor site to Netlify - November 17, 2023