
Typically developers will no doubt need to support software that has been developed using old outdated versions of a software framework or libraries within that framework.
Your software development workstation will no doubt need to be able to house different versions of these frameworks you'll often need some mechanism to switch different versions easily.
In this post we'll explore how to install Node Version Manager on a Ubuntu Desktop to enable switching between different versions of Node.JS seamlessly on you Ubuntu Desktop
Node.JS has been around now for few years and there are a number of different versions of the framework out in the wild. There are obviously a plethora of applications out there, that need to be supported and developed further. This is where the Node Version Manager (NVM) comes into play, it enables you to install, manage and switch between different Node.JS on your workstation using the terminal window.
How to Install NVM with homebrew on linux
Installing NVM is really easy and can be done using the terminal window, once you have Homebrew installed. Using Homebrew to install any software developer related tool, is definitely my preferred choice these days.
To install Node Version Manager is a as simple using the brew install command as follows
brew install nvm
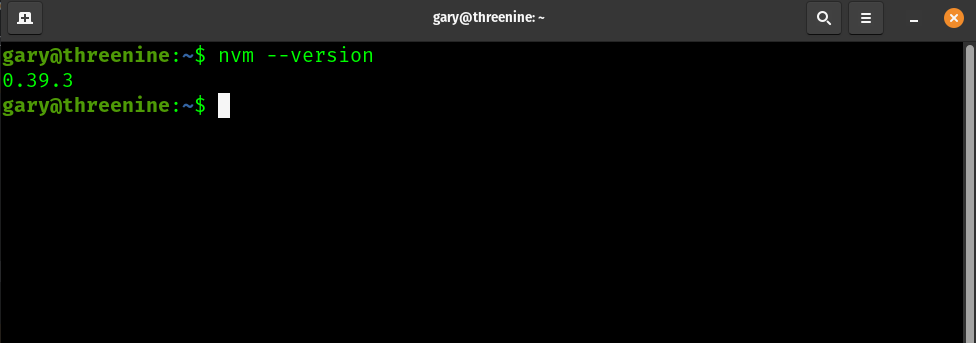
Once the install completes you can simply check which version of NVM has been installed using the --version switch which will output the version number.
nvm --version
Using the Node Version Manager help
NVM ships with an extensive help documentation and its well worth taking the time to take a look to get to know some more about the commands and options available. Accessing the help is as simple as using the help command.
nvm help

Install Node
With NVM installed we now have multiple ways to define and use any version of node we choose, either as a global version on your workstation or use specific versions in different projects on your laptop.
To install different versions and to make them available use on your machine you can use the install command and define the version number you would like to install. In the case below I have elected to install some older versions that I may need to use to work with some legacy code.
nvm install 5.3.0
nvm install 4.2.0
nvm install 0.12
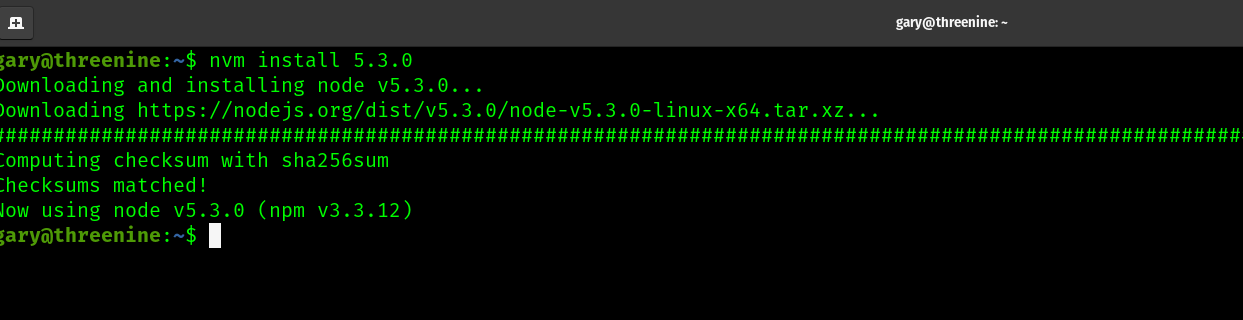
You can choose any version of node that is available and NVM will download a pre-built binary version of Node.JS and install it.
Once install is complete NVM will display which version has been installed.
Now using node v5.3.0 (npm v3.3.12)
You can confirm this by asking node which version has been installed
node -v
Set a Default version
If you want to ensure that the same version of node is used next time you log in or access vai SSH, you can set a default
nvm alias default 5.3.0
Switch between versions
Now that we have multiple versions of node installed, we may need to switch between them as and when we need to.
nvm use 0.12
Get a list of installed version of node
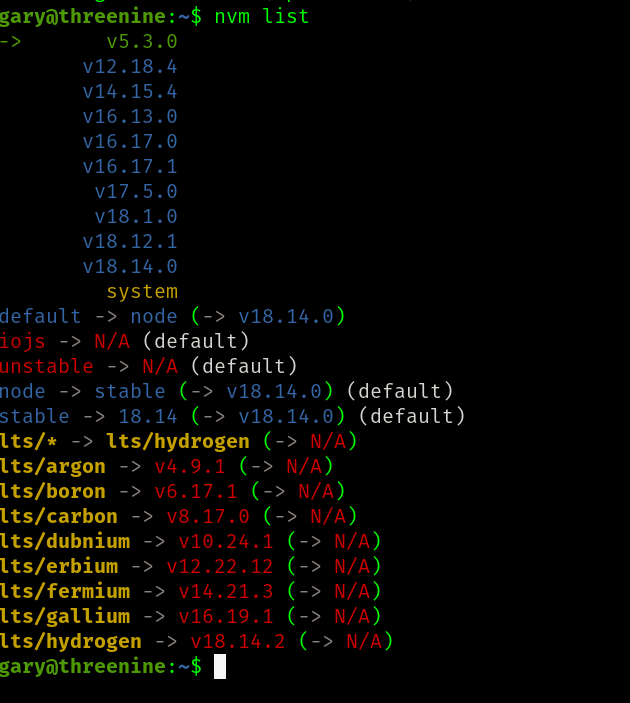
To get a list of all the versions of node you have installed via the nvm simple use the following command
nvm ls
# or you can use the more verbose
nvm list
Proxy
If make use of a proxy then you need to register the proxy with NVM
nvm proxy yourProxyNameHere
Get a list of available node versions
To get a list of available node versions to install
nvm ls-remote
How to Set project specific version of node
When working on a project you may want to control the version of node used on a the project, for instance you may be working on a node based project with a team and your team may want to ensure you all use the same version node.
In your project folder you can create a hidden text file and by convention this should have the name .nvmrc. All that needs to be in this file is the version of node that you would like to use.
On Linux and Mac its trivial to matter to create and define the version using terminal command. In the followig code below we use the cat command to create and open a file for input, then press enter, then add the version of node you would like to set, in the case below we have chosen v18.14.0 then we can use ctrl + d to close the file
cat > .nvmrc
v18.14.0
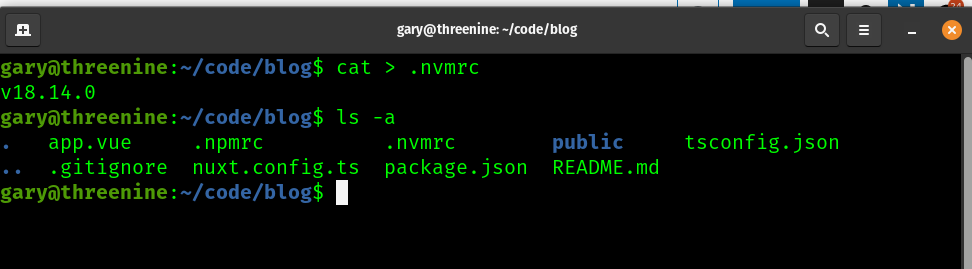
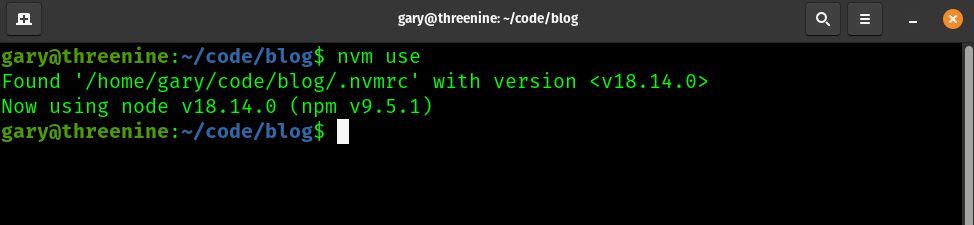
With the file in place you will no longer need to define the version number and can simply use nvm use and node version manager will ensure that the project makes of the Node version defined
Conclusion
In this walk-through guide you have learned to install nvm on Ubuntu Linux and gained a basic understanding of the uses of nvm. For the most part my day to day use of Nvm for the most part does not go much further than the typical use cases I outlined above.
- What is this Directory.Packages.props file all about? - January 25, 2024
- How to add Tailwind CSS to Blazor website - November 20, 2023
- How to deploy a Blazor site to Netlify - November 17, 2023