
In Getting Started with Nuxt 3 and understanding the Nuxt3 minimal project structure we started a very basic project using Nuxt 3 by introducing and familiarising ourselves with Nuxt 3, the CLI tool and explored the generated minimal project structure.
In this post, we're going to dive a little deeper and start adding modules and gradually introduce more of the key features of Nuxt 3 that will help you to build more complex apps and features.
In understanding the Nuxt3 minimal project structure we briefly explored layouts and pages and implemented really basic features, to illustrate how they work. Obviously we want the pages of our apps to look and feel a lot better than just the basic Black and White pages! So now It's now time to add some style and colours to our app.
If you're primarily a Back-end engineer like myself, styling and being creative is not necessarily your fortiet, so we're going to need a little extra help. Fortunately, there is a great package available for us to use, to fairly easily add professional looking styling to our app. We're going to be making use of Tailwind CSS.
What is Tailwind CSS
Tailwind is define as a utility-first CSS framework. Which sounds great but what exactly does that really geeky phrase mean?
In contrast to other CSS frameworks like Bootstrap or Materialize CSS, Tailwind CSS doesn’t come with predefined components. Instead Tailwind CSS operates on a lower level and provides you with a set of CSS helper classes, using these classes you can rapidly create custom design with ease.
Tailwind CSS is not opinionated and doesn't confine you to component boundaries instead it enables you create your own unique designs. Tailwind provides a faster UI building process, providing utility classes to build custom designs without the need to write CSS.
Advantages of Tailwind CSS:
- No need to define custome CSS classes and Id’s.
- Minimum lines of Code in CSS file.
- customize the designs to create your own components.
- Built to be responsive.
- Makes the changes in the desired manner.
What is even easier is that implementing Tailwind CSS is even easier because we can just use a module to do the work for us.
What is a Nuxt 3 Module
Nuxt provides what is termed as a higher-order module system which basically provides developers the capability to extend the core, without having to edit the core code. Modules are essentially functions that are called sequentially when booting Nuxt.
Nuxt modules can be distributed via npm packages. This makes it possible for them to be reused across mulitple projects and shared with the community, helping to create an ecosystem of high-quality add-ons.
Nuxt itself has been developed using a modular structure and by default ships with a number modules that are already available, we will be touching more on this later in this post.
Adding modules to Nuxt 3 is really easy and there are literally 100's of modules available
Adding TailwindCSS to Nuxt 3
In the previous posts we discussed node package management configuration options and introduced Yarn package manager and we will be using this add our module and the edit our nuxt.config.ts , which we will use to configure the modules in our nuxt 3 project.
The first step, lets use yarn to add the following the following Tailwind related packages to our Nuxt 3 app as follows
yarn add -D tailwindcss @tailwindcss/aspect-ratio @tailwindcss/forms @tailwindcss/typography
The above command adds the following packages to our app:
- tailwindcss - The core tailwind package
- aspect-ratio - Official Tailwind plugin providing a composable API for giving elements a fixed aspect ratio
- forms - Official Tailwind plugin a basic reset for form styles that makes form elements easy to override with utilities
- typography - Official Tailwind plugin provides a set of prose classes you can use to add beautiful typographic defaults to any vanilla HTML you don’t control
In the following step we now also add the Tailwind Nuxt module
yarn add -D @nuxtjs/tailwindcss
Create additional directories in our project
Nuxt uses two directories to handle assets like stylesheets, fonts and images.
The public directory content is served at the server root as-is.
The assets directory contains by convention for every asset that you want the build tool (Vite or webpack) to process.
In our case we will add the following directories assets and the nested directory css and img folders
mkdir assets
mkdir assets/css
mkdir assets/img
We can now create a CSS file name tailwind.css then add @tailwind directives for each of Tailwind’s layers to your main CSS file, then use (CTRL + D) to exit out of the cat
cat > assets/css/tailwind.css
@tailwind base;
@tailwind components;
@tailwind utilities;
Configure the Nuxt Tailwind module
Although the Nuxt Tailwind module takes care of most of the configuration details for us, we will still want to be able to have some finer control over tailwind. We can now edit our nuxt.config.ts to configure our Nuxt module we added in a previous step, by add some additional configuration values. However, the downside of this approach is that it comes lower down in the priority chain and can have performance impacts.
// https://nuxt.com/docs/api/configuration/nuxt-config
export default defineNuxtConfig({
    modules: [ '@nuxtjs/tailwindcss'],
    tailwindcss: {
        config: {
            plugins: [ require('@tailwindcss/typography'), require('@tailwindcss/aspect-ratio'), require('@tailwindcss/forms')],
            content: [
                 'components/**/*.{vue,js}',
                'layouts/**/*.vue',
                'pages/**/*.vue',
                'composables/**/*.{js,ts}',
                'plugins/**/*.{js,ts}',
                'App.{js,ts,vue}',
                'app.{js,ts,vue}'
            ]
        },
    },
})
If we would like to improve the performance etc, then a better approach would be to create a tailwind.config.js for all our Tailwind configuration details to do so we can simply use the following command
tailwind init
This command will generate new Tailwind Configuration file as below and we can then use it to fine tune our Tailwind Configuration
/** @type {import('tailwindcss').Config} */
module.exports = {
  content: [],
  theme: {
    extend: {},
  },
  plugins: [],
}
With the new file in place we modify it to include the following configuration to include the plugins we wish to use
/** @type {import('tailwindcss').Config} */
module.exports = {
  content: [],
  theme: {
    extend: {},
  },
  plugins: [
    require('@tailwindcss/typography'),
    require('@tailwindcss/aspect-ratio'),
    require('@tailwindcss/forms')
  ],
}
We can now also simplify our nuxt.config.ts to include
export default defineNuxtConfig({
    modules: [ '@nuxtjs/tailwindcss'],

    tailwindcss: {
        cssPath: '~/assets/css/tailwind.css',
        configPath: 'tailwind.config',
    },
})
How to use Tailwind Styling
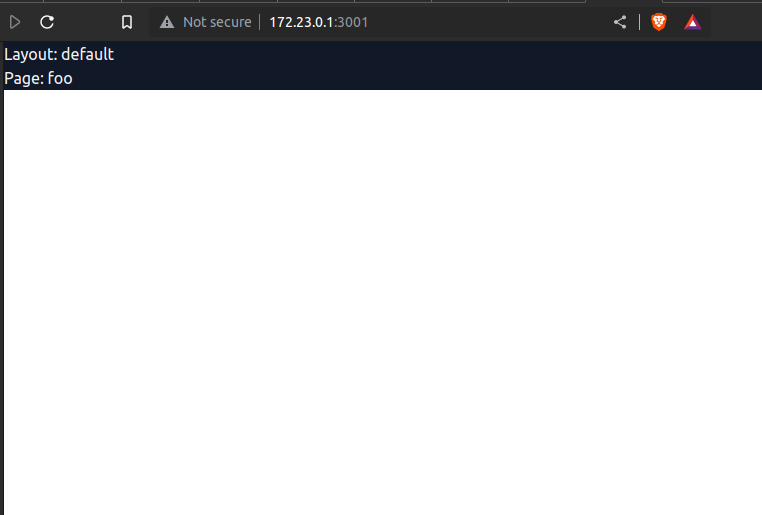
We can make a minor adjustment to our app.vue just to quickly test that we have configured our Talwind CSS correctly. Effectively we are going to set the Background color to a dark shade of gray and the text colour to a lighter shade of gray using default Tailwind Class options.
In How to use layouts in nuxt 3 we created a very simple nuxt app with a simple Layout and Page configuration which we will use in this example to add some basic styling.
<template>
    <div  class="bg-gray-900  text-gray-100">
        <NuxtLayout>
            <NuxtPage/>
        </NuxtLayout>
    </div>
</template>
if we use yarn dev to run our app now and view it in a browser should see our changes to the basic style of our app have been implemented.
The added bonus making use of this approach is that when you start your application in Development mode, using yarn dev the tailwing viewer is made available on your local instance at _tailwind. This information is also displayed in your Terminal Window.
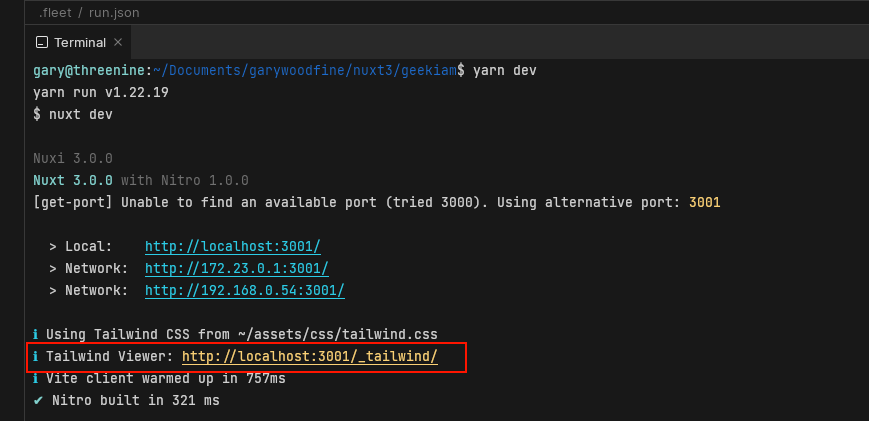
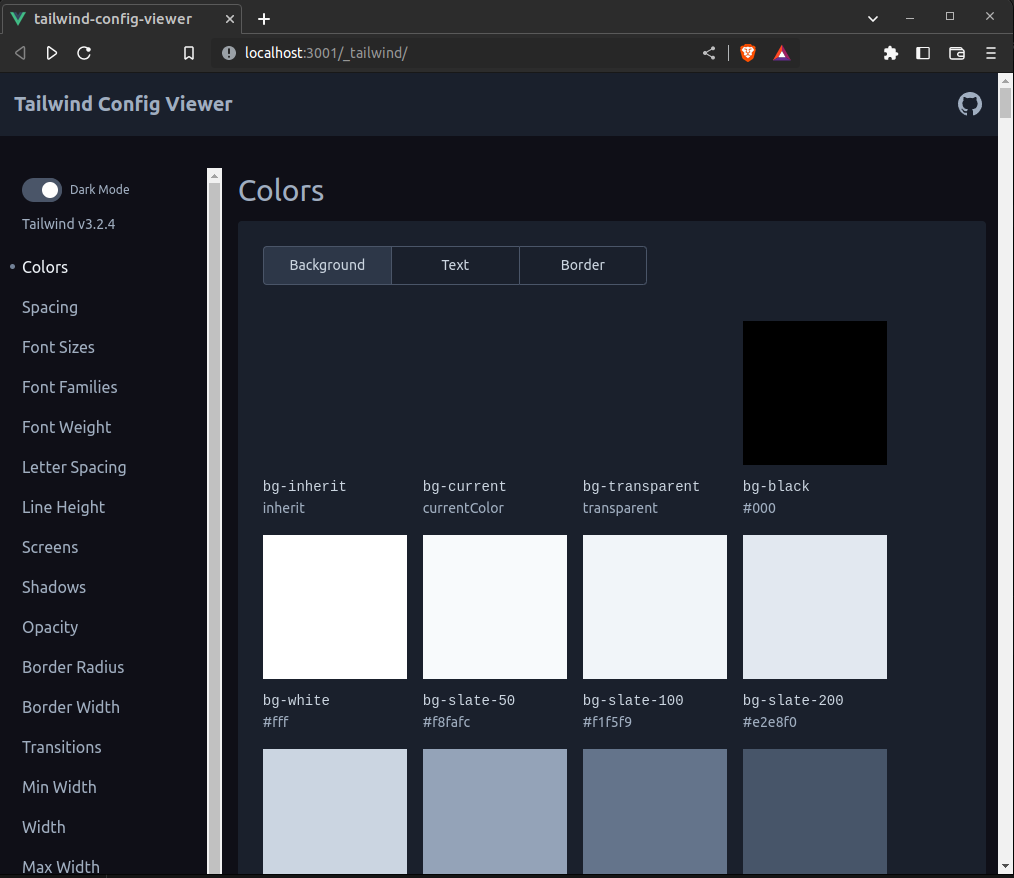
If you click on the link the Tailwind Config Viewer will be displayed in a browser session, enabling you to browse the multitude of Tailwind CSS classes and configurations you can use straight out the box
Conclusion
We have now configured our project to make use of Tailwindcss by adding a custom Nuxt3 module and configured the module directly in our nuxt.config.ts. We can add additional modules and as we progress through this tutorial series we will continue to do so. However, for now we will leave it here and look forward to the next tutorial in the series.
In the next post in this series we will learn more about another mechanism that we can use to extend or enhance functionality in our Nuxt app, by making use of Plugins, How to add Google Analytics to Nuxt 3

- What is this Directory.Packages.props file all about? - January 25, 2024
- How to add Tailwind CSS to Blazor website - November 20, 2023
- How to deploy a Blazor site to Netlify - November 17, 2023