Developing Gridsome based static website, there will often requirements where you may want/need to retrieve dynamic data to enrich your content. Often, calling external API's. In this post I will cover how you can achieve this by using Netlify to develop serverless functions with JavaScript.
If you've been following along with this tutorial series, you may be aware that the series is dedicated to not only learning Gridsome the Vue.js static website generator and Netlify platform to build and deploy websites from Git but also it is focused on developing a community network-based education and social network for software professionals.
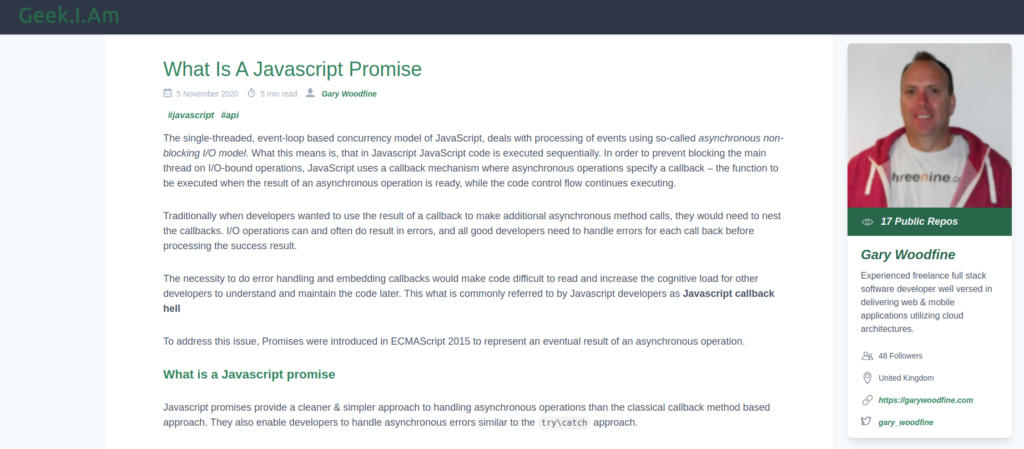
With this in mind I wanted to implement a feature for authors to integrate and display their Github Profiles alongside their posts. The aim of this is to provide additional exposure for the Author, by highlighting their Github credentials and additional links.
I thought implementing this would be a great opportunity to learn some more about the functionality that Netlify provides and to explore what I could do with it. In particular I had in mind making use of Netlify Functions to implement the API call to Github to retreive the user details.

What are Netlify Functions
Most web based developers are probably familiar with Serverless Functions, whether they be AWS Lambda functions, Azure Functions or Google Cloud Functions. I have previously posted about Getting started with .NET Core and the Serverless Framework and even how to Build a Twitter bot with AWS lambda serverless framework and node.js
Netlify lets you deploy serverless Lambda functions without an AWS account, and with function management handled directly within Netlify. Your serverless functions are version-controlled, built, and deployed along with the rest of your Netlify site, and netlify will automatically handle service discovery through their built-in API gateway.
In Getting started with Static Website Generator I discussed how I have configured the code to auto deploy to the netlify hosting on commit to the Github repository, which is super easy and convenient and over the past few months I have gotten even more familiar with it and have implemented some additional advanced features which I will discuss in future posts.
It was during implementing Functions that I stumbled across some additional functionality that I wasn't even aware of! I discovered that Netlify provides a Command Line Interface (CLI) that really helps to speed up and improve the developer experience even further!
In order to develop and explore Netlify Functions, I recommend that you install the Netlify CLI
What is the Netlify CLI
Netlify's command line interface (CLI) lets you deploy sites or configure continuous deployment straight from the command line. The new 2.0 version of the Node-based CLI was redeveloped to help improve the site building experience.
To install the CLI you can use Node Package Manager command to install the CLI globally on your machine.
Once the CLI is installed, the best way to check it's all working is to use it to sign into your Netlify Account using the login
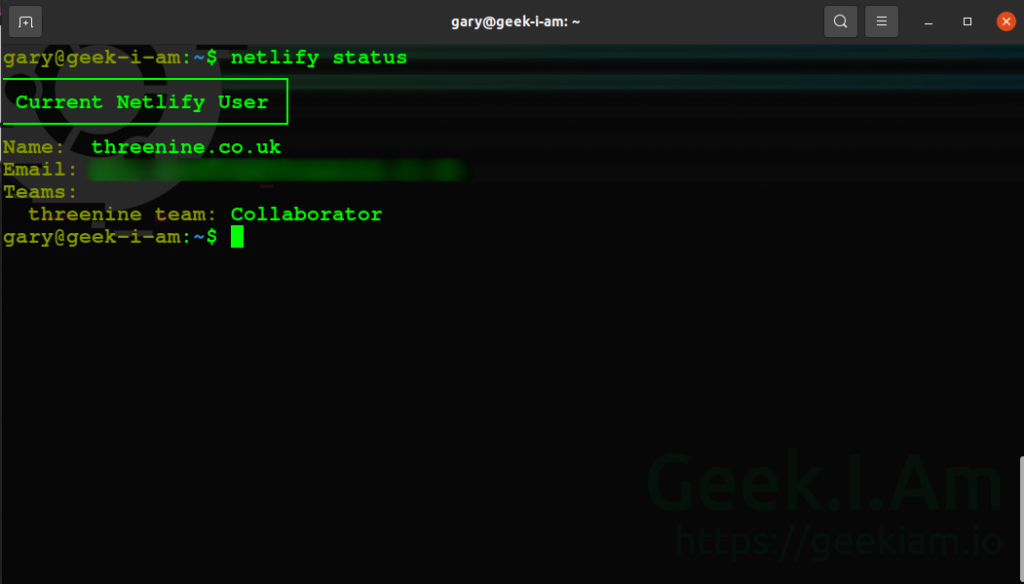
This will open a browser session for you to sign into your account. Once you have logged in you can check the status of your account by using

In order to get full use of the Netlify CLI for our Gridsome based project there is some additional configuration required.
We need to add an additional file to the root of our project folder which we'll name netlify.toml
This file is a TOML configuration file that aims to be a minimal configuration file format that's easy to read due to obvious semantics. TOML is designed to map unambiguously to a hash table. TOML should be easy to parse into data structures in a wide variety of languages.

We are going to use this file to add configuration detail about our website. The first bit of information we are going to add, is some detail telling netlify how to build our project and folder which the build artefacts will be found.
We are also going to add our first detail about our forthcoming function we're going to build. We're going to tell netlify which folder it will find all the code for our functions. I have gone ahead and named this folder functions, but this can be anything you want.
We now need to add some more configuration information which will detail our Development environment and how the Netlify CLI will be able to spin up our development environment to help us develop our functions.
We are using Gridsome to develop our website so essentially we just tell netlify CLI which framework we're using and the command it needs to use start it.
Optional information we can provide is the port number we want to start the Netlify proxy environment on. By default this will launch on 8888, but in my particular case I already have a docker container listening on port 8888 so I have chosen to start the netlify proxy on 3850.
We also tell the Proxy environment where it will be able to find our published artefacts and whether we want the netlify environment whether want it auto launch the website in our browser.
Go ahead and create the functions folder in the root of your project

Developing functions with Netlify CLI
We now have all the configuration we need out of the way, we can get on with the fun stuff of developing our first function and the netlify CLI will even help us get started.
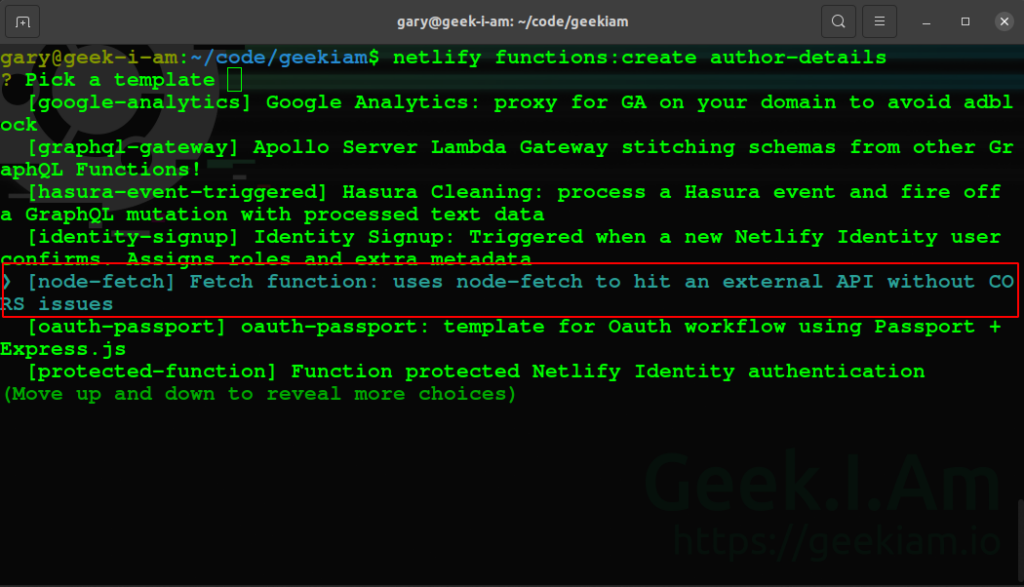
If we use the CLI command netlify functions:create [name of your function] the netlify CLI will respond with a question about what type of function you want to create and even generate a basic template for you start with.
There are a number of different types of templates you can use, and I won't go into detail of them all and recommend you take the time to read through them.
In our case we are going to scroll down the list find [node-fetch] Fetch function: uses node-fetch to hit an external API without CORS issues and hit enter to select it and the CLI will generate a simple function for us

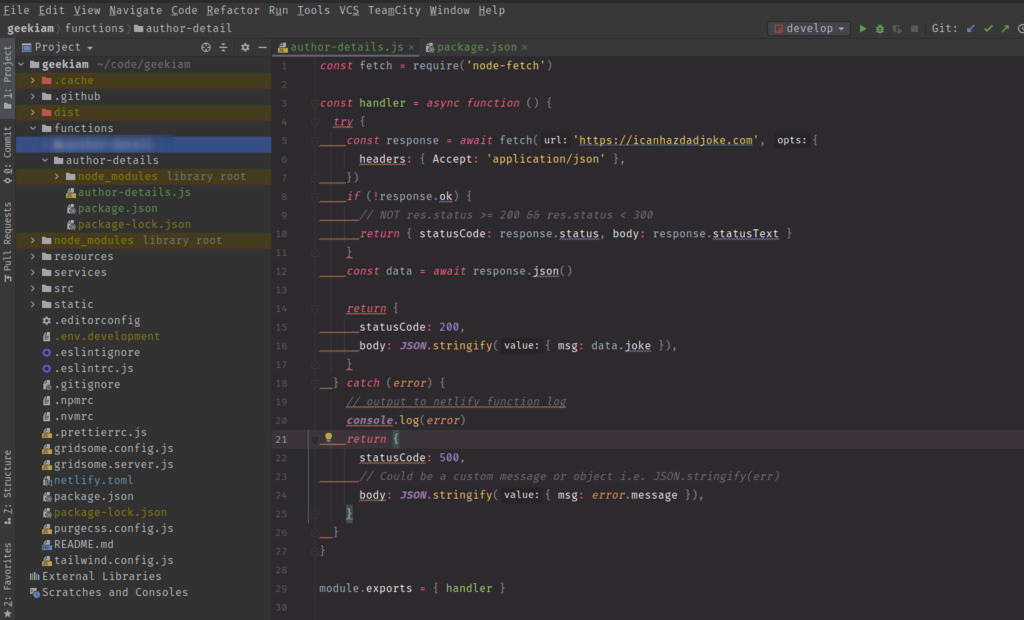
If you look in your functions folder you see another folder has been created with some additional files, which is basically a small node base project which will contain our function logic

This small project makes use of the Fetch API to connect to an API to get a Dad joke and return it.
We can now actually use the netflify CLI to test this function working, all locally without having to deploy it to our site! if we use the netlify dev we this will launch our website and the Proxy environment, which essentially creates a Mock production environment on our local machine.

Once the application has launched we can open browser window and enter the address http://localhost:3850/.netlify/functions/author-details and we will see some random Dad joke is displayed.

This is great we have a working Netlify function! However, it doesn't really do anything we need.
In my case I deleted all the code that was generated and replaced with with the following code I needed to connect to the Github API to get details of user if we pass in a username. Once we get the details from Github we create a smaller JSON object which will contain the data in format we want to use.
In the code below I will make use of the some features that are made available via the functions handler API.
Each JavaScript file to be deployed as a serverless Lambda function must export a handler method with the following general syntax.
You can use either
Netlify provides the event and context parameters when the serverless function is invoked. When you call a serverless function’s endpoint, the handler receives an event.
The context parameter includes information about the context in which the serverless function was called. In future articles I will illustrate how to make use of the context object, for the purpose of this article it is out of scope.
Netlify Functions still support callback syntax, async is more versatile. Due to the fact that async functions return a promise, netlify recommend returning a response with at least an HTTP status code instead of allowing the function to time out.
For the purpose of this article, I am still going to make use of the callback syntax. In future articles I will provide examples of making use of async functions
The function we are going to enable passing in a username via a query string parameter, which we will retrieve in the function making use of the event.queryStringParameters collection
If you've left your development site running after we set it earlier, then you can simply go browser session, and use the following query
You should see your browser respond with a stripped down version of your the Github User profile and the properties have been slightly renamed.

We have a working lambda function! We can now also make use of this function within our Gridsome Project by making use of fetch API with Vue .
This is also where some functionality of Netlify CLI comes into play and the way that it creates a proxy server that compiles and runs cloud functions and preforms the edge logic and routing rules.
When functions are deployed to the Live Production environment they will be available in a directory
So if we want to use our functions in our website we simply have to refer to this directory and the function name. So our path to our function will be
So we can therefore just use the fetch api to call our end point as follows
We simply call our function endpoint by providing the username and assign the value to whichever property needs it. In the code of the Geek.I.Am website we created a custom component which will display the data, you can view the code in full by checking out the links mentioned earlier in the article
Conclusion
We have created a simple function to retrieve data from the Github API to display on our website. This provides us with several benefits, in that we can quickly spin up an new service with some additional functionality, to test if the this new functionality proves useful and provides value to our users.
If the new functionality proves to be popular then we can move it to our more permanent API's which we're currently developing.
The Netlify CLI makes it really easy to leverage the netlify platform to develop your website and really takes the pain out of the integration and deployment of your website.

- What is this Directory.Packages.props file all about? - January 25, 2024
- How to add Tailwind CSS to Blazor website - November 20, 2023
- How to deploy a Blazor site to Netlify - November 17, 2023