Ensuring your software product can be built and deployed with ease with a repeatable process is the consistent across a number of environment i.e. on a build server or on a developers laptop, is absolutely fundamental and critical success factor for your software development efforts.
Investing time and effort in this in the early days, pays enormous benefits in the long run. Having reaped the benefits in previous startups, while also being able to experience the downsides of not doing so on other large enterprise projects.
In this article I will be discussing how to use Cake to develop your build scripts.
What is Cake ?
Cake (C# Make) is a cross platform build automation system with a C# DSL to do things like compiling code, copy files/folders, running unit tests, compress files and build NuGet packages.
CakeBuild.net
Why Cake ?
I have to be honest, my primary reason for making use of cake is that I absolutely hate using Powershell! Personally I do not find it at all intuitive, difficult to read and understand.
Over the years I have found that I am not alone and there are very few developers who actually like using Powershell.
One of the side effects of having a quasi-racist affliction to Powershell, is that unfortunately it is used in a number of Build Scripts and Build Automation routines. Therefore I have had to try and make sense of Powershell over the years
Using Cake developers no longer need to learn Powershell to write Build Automation scripts, we can now use C# to write Build Scripts!
- Cake speaks C#
If you are working with developers that use C#, Cake will be easier to learn. You just write C# and it uses Roslyn to run the script. - Developed in C# & Open Source
You can view the source code on GitHub - Addins available
A build language must be able to connect to many different types of system, it's important to have the ability to coordinate with different systems. Check out the Cake Addin Library
It is also possible to make use of Cake in a cross platform Continuous Integration/Deployment scenario. In this post I will detail the steps required to install and configure a Cake Build Server on Ubuntu 16.x.
Although Cake is admittedly easy to use, once you know how I did experience a bit of steep learning curve in getting started with it. The project documentation is pretty light, in this regard and for me at least there was a lot of feeling my round in the dark. I thought I save others time but documenting as much as possible what I learned.
I thought the best way to do this would be to walk through the process of creating a new project and then create a build process using cake. In this specific example I will be using ASP.net Core project in Visual Studio Code on ubuntu, however the process is fairly similar on any platform. I'll try explain differences as much as possible where I found them.
Install Mono
Although not necessay to build ASP.net core, cake does make use of the of Mono to run two executables i.e. Nuget.exe and Cake.exe.
sudo apt install mono-complete -y
Start new project
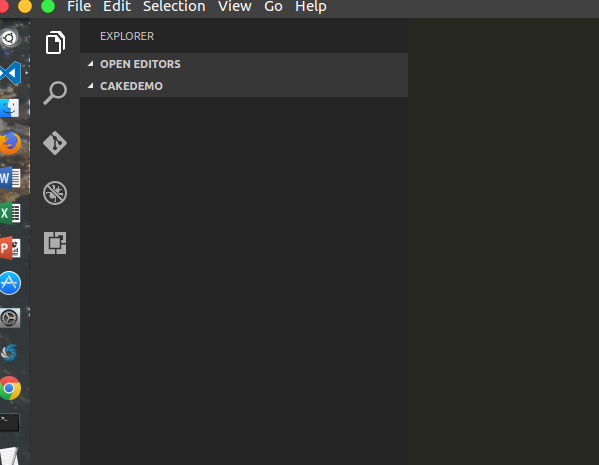
We'll open Visual Studio Code in a new folder , in my instance I have called this cakedemo
Use the Cake Bootstrapper
The Build Process is as important as source control, (you wouldn't start writing code without at least creating a git repository would you ? 🙂 )
Therefore we'll make a start creating our build scripts, despite having anything to build yet. In VS Code open the command
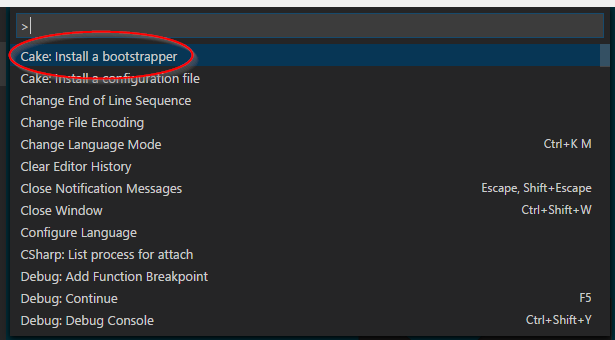
Selecting the Cake Bootstrapper will then display another two options. A bootstrapper for builds on Windows making use of PowerShell or build.ps1 , and one for Linux making use of BASH or build.sh.

We may as well add both just to give us greater flexibility going forward. We may have have some developers working on Windows machines and some on either Linux or Macs. We may also decide at a later stage we may want to change our Build Agent or build server platform. Having both options available helps us make the switch easier.
After we finished adding both our Project Explorer view should now contain 2 files.
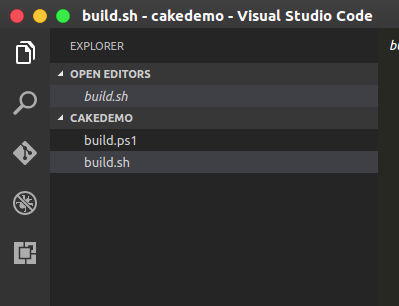
The two files we have just added, essentially are entry points into our Build Process. If we open one of the files, in my case it will be the build.sh file, ( yes I hate PowerShell that much I never want to read it!) and quickly examine it. I won't go into too much detail but will hopefully touch on the areas of most interest. The file is also commented which does help to understand it a lot quicker.
Add gitignore file
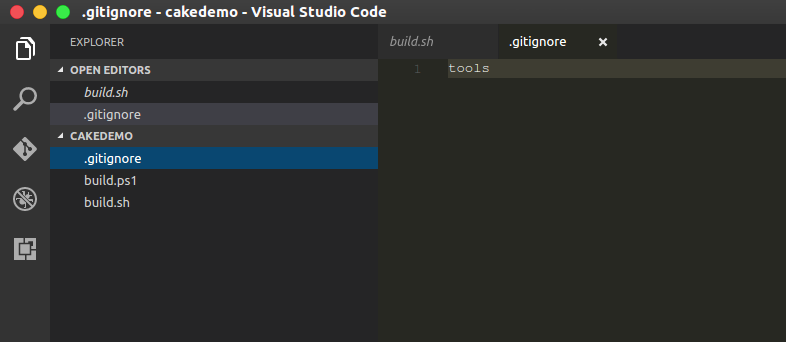
Lets go ahead and add out .gitignore file to our project and exclude the tools folder from being commited to our repository. The Bootstrapper will ensure that the folder and tools are download on whichever environment it executes so there is no need to store them.
create a new file .gitignore
Create build.cake file
Another job the build.sh file does is call the build.cake file, which will build your project. This is a file that we will develop ourselves using C# that will carry out all the steps we would like to execute during our build process.
Create a new file build.cake
Once the file has been created we can now start writing all the plumbing code we will need. The code below is purely how I like to lay this out. This is by no means a complete file, and I am not entirely sure if this is how more seasoned cake users would lay out the file, but it works for me now, and I am absolutely positive that I will change my mind in the future, but it's good enough to start with.
#tool nuget:?package=NUnit.ConsoleRunner&version=3.4.0
//////////////////////////////////////////////////////////////////////
// ARGUMENTS
//////////////////////////////////////////////////////////////////////

var target = Argument("target", "Default");
var configuration = Argument("configuration", "Release");


//////////////////////////////////////////////////////////////////////
///    Build Variables
/////////////////////////////////////////////////////////////////////
var binDir = "";       // Destination Binary File Directory name i.e. bin
var projJson = "";     // Path to the project.json
var projDir = "";      //  Project Directory
var solutionFile = ""; // Solution file if needed
var outputDir = Directory("") + Directory(configuration);  // The output directory the build artefacts saved too

var buildSettings = new DotNetCoreBuildSettings
     {
         Framework = "netcoreapp1.1",
         Configuration = "Release",
         OutputDirectory = outputDir
     };
//////////////////////////////////////////////////////////////////////
// TASKS
//////////////////////////////////////////////////////////////////////

Task("Clean")
    .Does(() =>
{
    if (DirectoryExists(outputDir))
        {
            DeleteDirectory(outputDir, recursive:true);
        }
});

Task("Restore")
    .Does(() => {
        DotNetCoreRestore(projDir);
    });

Task("Build")
    .IsDependentOn("Clean")
    .IsDependentOn("Restore")
    .Does(() => {

	if(IsRunningOnWindows())
    {
      // Use MSBuild
     // MSBuild(solutionFile , settings => settings.SetConfiguration(configuration));

	   DotNetCoreBuild(projJson, buildSettings);
    }
    else
    {
      // Use XBuild
     DotNetCoreBuild(projJson, buildSettings);

    }
    });

Task("Package")
    .IsDependentOn("Build")
    .Does(() => {
        var packSettings = new DotNetCorePackSettings
        {
            OutputDirectory = outputDir,
            NoBuild = true
        };

         DotNetCorePack(projJson, settings);

    });


//////////////////////////////////////////////////////////////////////
// TASK TARGETS
//////////////////////////////////////////////////////////////////////

Task("Default")
    .IsDependentOn("Package");

//////////////////////////////////////////////////////////////////////
// EXECUTION
//////////////////////////////////////////////////////////////////////

RunTarget(target);
Reviewing the file you'll notice it is fairly straight forward to grok. It's mostly easy to understand C# mostly consisting cake based API calls
Task( "[Some Name you want to call the task]" )
    .Does(() => {
  // whatever action you want the task to do
});
If you have a task that depends on the outcome of another task, you simply use the fluent syntax to .IsDependentOn
Task("SomeTask")
    .IsDependentOn("AnotherTask")
    .Does(() => {

//Do Something
 });
Add our project
We have a basic build process, but we haven't got anything to build yet. So lets go ahead and create an empty project and build it.
First, lets create a Folder in root of project folder and call it src . Then open the integrated terminal window and change directory into the src folder.
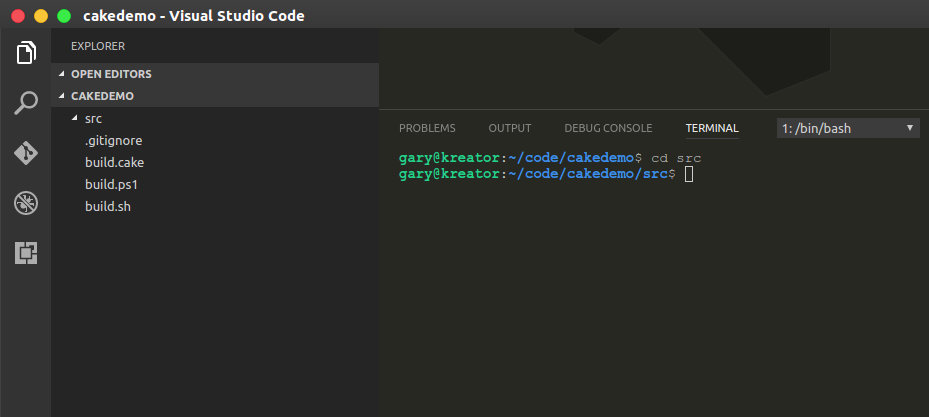
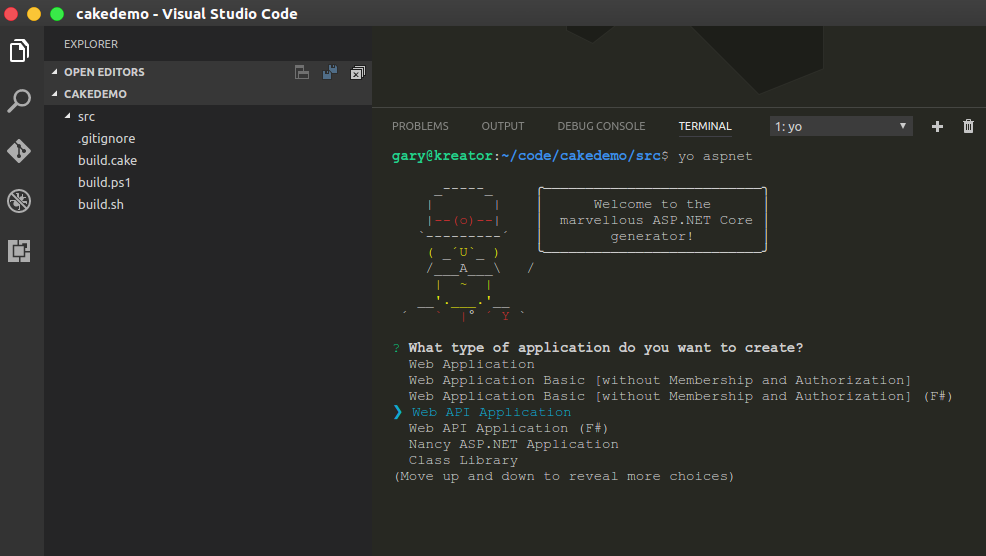
I will generate a new Asp.net core Web API, using yo aspnet. In my case I called my project demoapi
Once the the application has been generated. We won't do the usual tasks of running dotnet restore or dotnet build because we are going to use our build.cake file to do that for us.
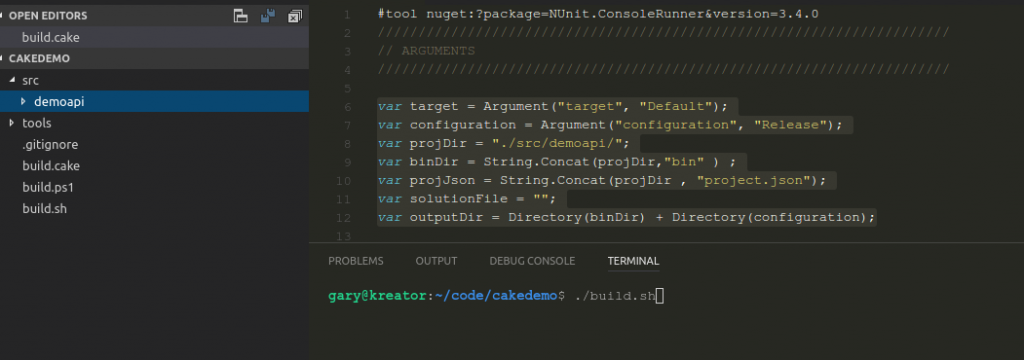
We now need to just need to add some detail to our build.cake, about the project we want to build. Essentially I am just going to add values to my variables.
var target = Argument("target", "Default");
var configuration = Argument("configuration", "Release");
var projDir = "./src/demoapi/";
var binDir = String.Concat(projDir,"bin" ) ;
var projJson = String.Concat(projDir , "project.json");
var solutionFile = "";
var outputDir = Directory(binDir) + Directory(configuration);
Once this complete, we can just change back to a project root folder where our build files are cd .. and then execute the build.sh
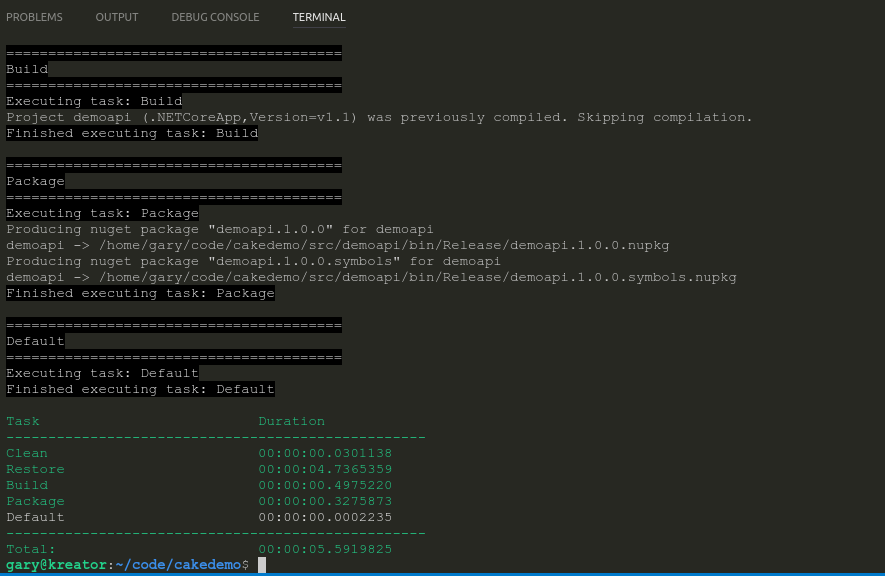
Provided we have provided all the correct information to the variables in our build file, we should see a successful build.
Conclusion
Now that we have a basic build working and a minimal structure of our build file in place, enabling us to extend our build file to include executing our unit tests and any other additional features we would like to implement.
We can now also commit our project to our version control and make use of the build file on out Continuous Integration server , like TeamCity, Travis , Jenkins etc. I will discuss how we can do this in a forthcoming blog posts.
Additional Resources & References
- Adam Hathcock -.NET Core 1.1 building with Docker and Cake
- Jamie Phillips -.Cake: Automating an existing project
- What is this Directory.Packages.props file all about? - January 25, 2024
- How to add Tailwind CSS to Blazor website - November 20, 2023
- How to deploy a Blazor site to Netlify - November 17, 2023