
I have recently been developing a Nuget package to implement a standardised API Response for my projects, details of which I will elaborate more in forthcoming post. Typically when I implement Nuget package I make use of my TeamCity cloud instance which I use for most of my CI/CD work and most of my internal development is managed by our Jetbrains Space , which has a Git repository and CI/CD workflows.
Primarily because my little project is an open source effort and more of an experiment, I thought I'd make use of Github and while I was at it I thought I'd have a little play with Github actions to do the Continuous Integration. I then thought, I might as well go the whole hog and make use of Github packages to store my Nuget packages.
What are Github actions
GitHub Actions enables the user to create custom Software Development Life Cycle (SDLC) workflows in their GitHub repositories. Enabling the repository owner to write individual actions and then combine them to create a custom workflows of their choice for their project. These workflows could be anything that software developers would want to typically automate in their day to day processes.
These could be things like raising a slack notification to a channel that a pull request has been raised and requires reviews or even to just say hello and guide new cloners of your repo to read instructions you think they should be aware of when using your code.
GitHub Actions also provides the facility to build end-to-end Continuous Integration (CI) and Continuous Deployment (CD) capabilities directly in the repository. Providing a one convenient location to perform your entire version control and CI/CD pipelines.
GitHub Actions use YAML syntax to define the events, jobs, and steps. These YAML files are stored in your code repository, in a directory called .github/workflows.
Its well worth taking the time to read through Understanding Github actions
What are Github packages
GitHub's free offering for those wanting to host their own packages. GitHub Packages allows hosting for both public and private packages. The benefits of using GitHub Packages is that it's free enabling you to share your packages privately or with the rest of the world, integrate with GitHub APIs, GitHub Actions, webhooks and even create complex end-to-end DevOps workflows.
Why Build packages
In How to create nuget package .net core I discussed more about building Nuget packages and touched on how to build them using dotnet pack,
Creating packages for self-contained and reusable software (tools, libraries, etc) in a clean and organized manner, enables ease of sharing of these packages among colleagues, customers or even some complete strangers on the internet.
How to create Github actions
There are two ways you can create Github actions either by making use of the Github Web interface or just by creating the files in your project folder yourself. Either way you'll end up with the same results.
Using Web Interface
The web interface of your Github repo will have an Actions tab and if you click on it you can then click the New workflow button.

You'll then be presented with a screen to select your type of workflow or set up one yourself.
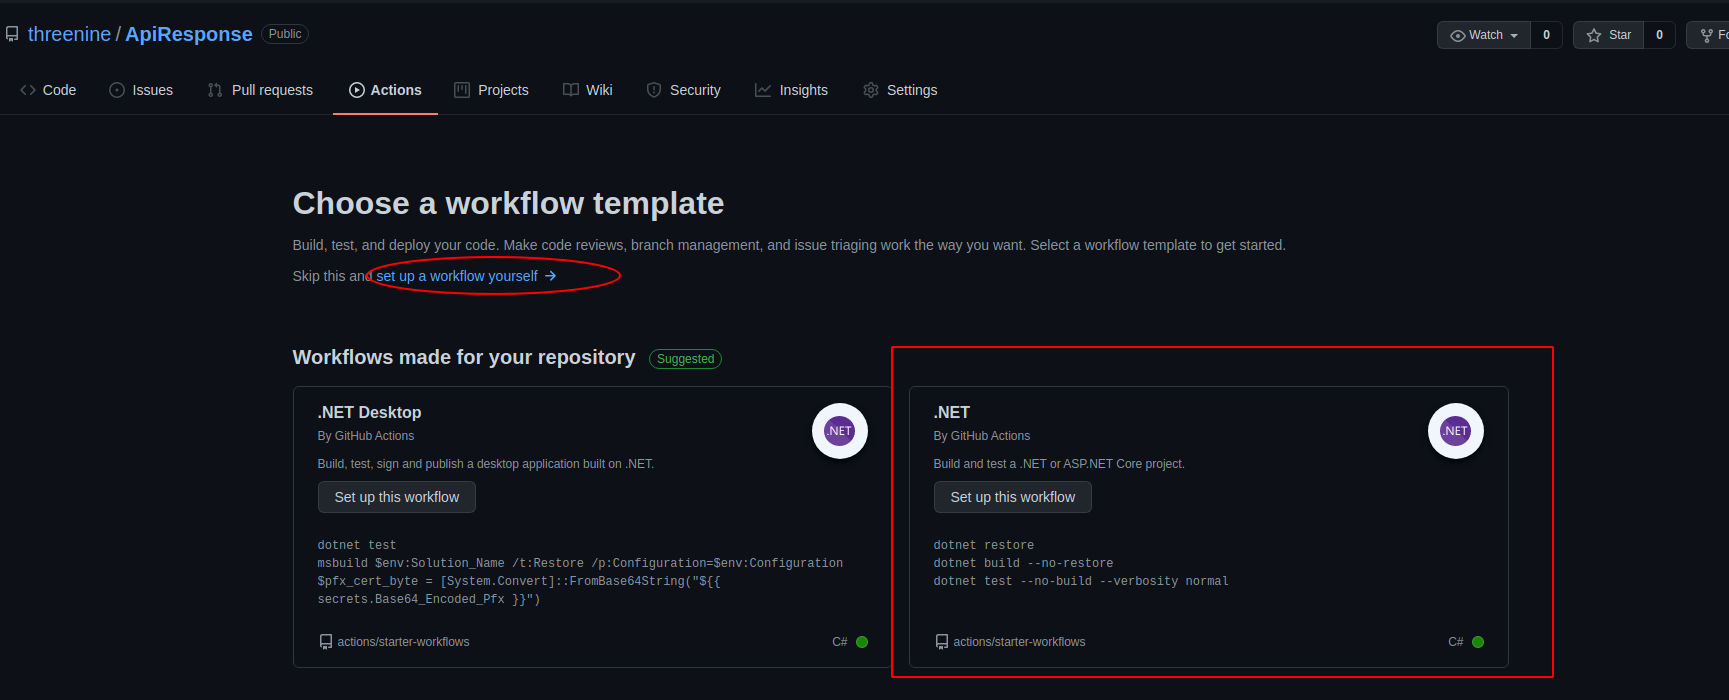
I won't discuss this process too much as Github have abviously spent alot of more and have hired writers and trainers far better than myself to educate you to guide you through the process
Read Github actions documentation
Configure manually
You can quite easily set up a Github action by creating the relevant folders and files yourself.
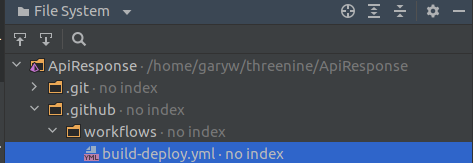
In your project folder simply create a new folder name .github and in that folder create another folder name it workflows and in that folder create a yaml file which you can name anything you like, however in my case I just named it build-deploy.yaml
Start Editing your Yaml file
A workflow is an automated procedure that you add to your repository. Workflows are made up of one or more jobs and can be scheduled or triggered by an event. The workflow can be used to build, test, package, release, or deploy a project on GitHub.
In the example I'll create below I will Build, Test, Package and deploy a nuget package to Github packages but along the way I will be adding some additional useful functionality such as version numbers.
In this initial version, I am working on the project on my own, and not using any Git workflows such as Gitflow or Github flow and I am committing straight into the master main branch. ( I know I can hear many developers wince, the cardinal sin of straight into main!). However, I am taking some precautions like writing unit tests and have Cake.build script I run locally before committing that all is ok.
Without any further ado lets start building our YAML file.
First we'll give our script a name and then define the events on which we want it to act. In my use case I want my action to fire on any push and pull request to the main branch.
Github action syntax
A brief overview of the syntax for a Github action:
- Workflow: refers to that point when the flow starts executing.
- Job: refers to all the tasks in a single workflow. A workflow contains more than one jobs and it is required for all of them to complete their execution to prevent the failure.
- Step: For a job to complete its execution, it must complete all the steps embedded in it.
- Action: Action is the primary subset of Step and the smallest subset of Workflow. Every step consists of multiple actions that must get executed successfully.
name: nuget-build-deploy

on:
  push:
    branches: [ main ]
  pull_request:
    branches: [ main ]
We can now start defining our jobs we want to preform, in my case its build and I would like it to run on a ubuntu image
jobs:
  build:
    runs-on: ubuntu-latest
We then want to start defining the steps of our process.
In my case the first thing I want to do is install GitVersion which is a free open source tool that generates a Semantic Version number based on your Git history. The version number generated from GitVersion can then be used for various different purposes, such as:
- Stamping a version number on artifacts (packages) produced during build.
- Exposing the version number to the build server to version the build itself.
- Patching
AssemblyInfo.cs(and similar) files with the version number during the build, so the version number is embedded within the compiled binaries themselves.
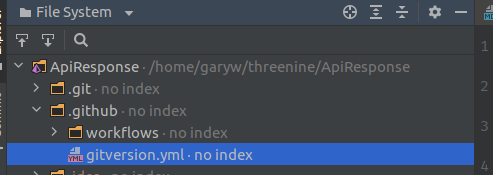
Before I start configuring my job to make use of Gitversion, I first need to add another YAML file to my .github folder in order to enable me to set some GitVersion configuration options. So I'll add a file and name it gitversion.yml
Then I'll add the following options
mode: Mainline
branches:
  feature:
    tag: beta
  main: {}
ignore:
  sha: []
Read more details about the GitVersion configuration options I am going to keep it really simple for this tutorial and stick to the minimum required to get versioning working.
We can go back to editing our Github action to add steps to our job. The first step we want to add is to install Gitversion
 steps:
    - name: Install GitVersion
      uses: gittools/actions/gitversion/setup@v0.9.7
      with:
          versionSpec: '5.x'
We then want to checkout our code
 - name: Check out Code
      uses: actions/checkout@v2
      with:
          fetch-depth: 0
Then we will Configure out Gitversion to make use of our Configuration file to determine the version
  - name: Determine Version
      id: gitversion
      uses: gittools/actions/gitversion/execute@v0.9.7
      with:
          useConfigFile: true
          configFilePath: ./.github/gitversion.yml
With all that out the way we can then configure our Build, Test and Package steps
 - name: Restore dependencies
      run: dotnet restore

    - name: Build dotnet
      run: dotnet build ApiResponse.sln --configuration release /p:Version=${{ steps.gitversion.outputs.AssemblySemVer }} /p:AssemblyVersion=${{ steps.gitversion.outputs.AssemblySemVer }} /p:InformationalVersion=${{ steps.gitversion.outputs.InformationalVersion }} --no-restore

    - name: Run Tests
      run: dotnet test --configuration Release /p:Version=${{ steps.gitversion.outputs.AssemblySemVer }} --no-build --verbosity normal

    - name: Package nuget
      run: dotnet pack ApiResponse.sln --configuration release -o:package /p:PackageVersion=${{ steps.gitversion.outputs.AssemblySemVer }}
As you can see from the above we make use of the outputs in our gitversion task to set the version numbers
The last step we'll configure is our Publish to Github packages. The most notable part of this step is that we make use of a special Token which is defined at repository level and making use of the GITHUB_TOKEN ( Automatic token authentication )
- name: Push generated package to GitHub registry
      run: dotnet nuget push ./package/*.nupkg  --source https://nuget.pkg.github.com/threenine/index.json   --api-key ${{ github.token }}
The code should all be fairly self explanatory, but as you can see we make use of Dotnet commands to build, test, package and publish our nuget package, which really simplifies our development and all commands .net developers would be familiar with.
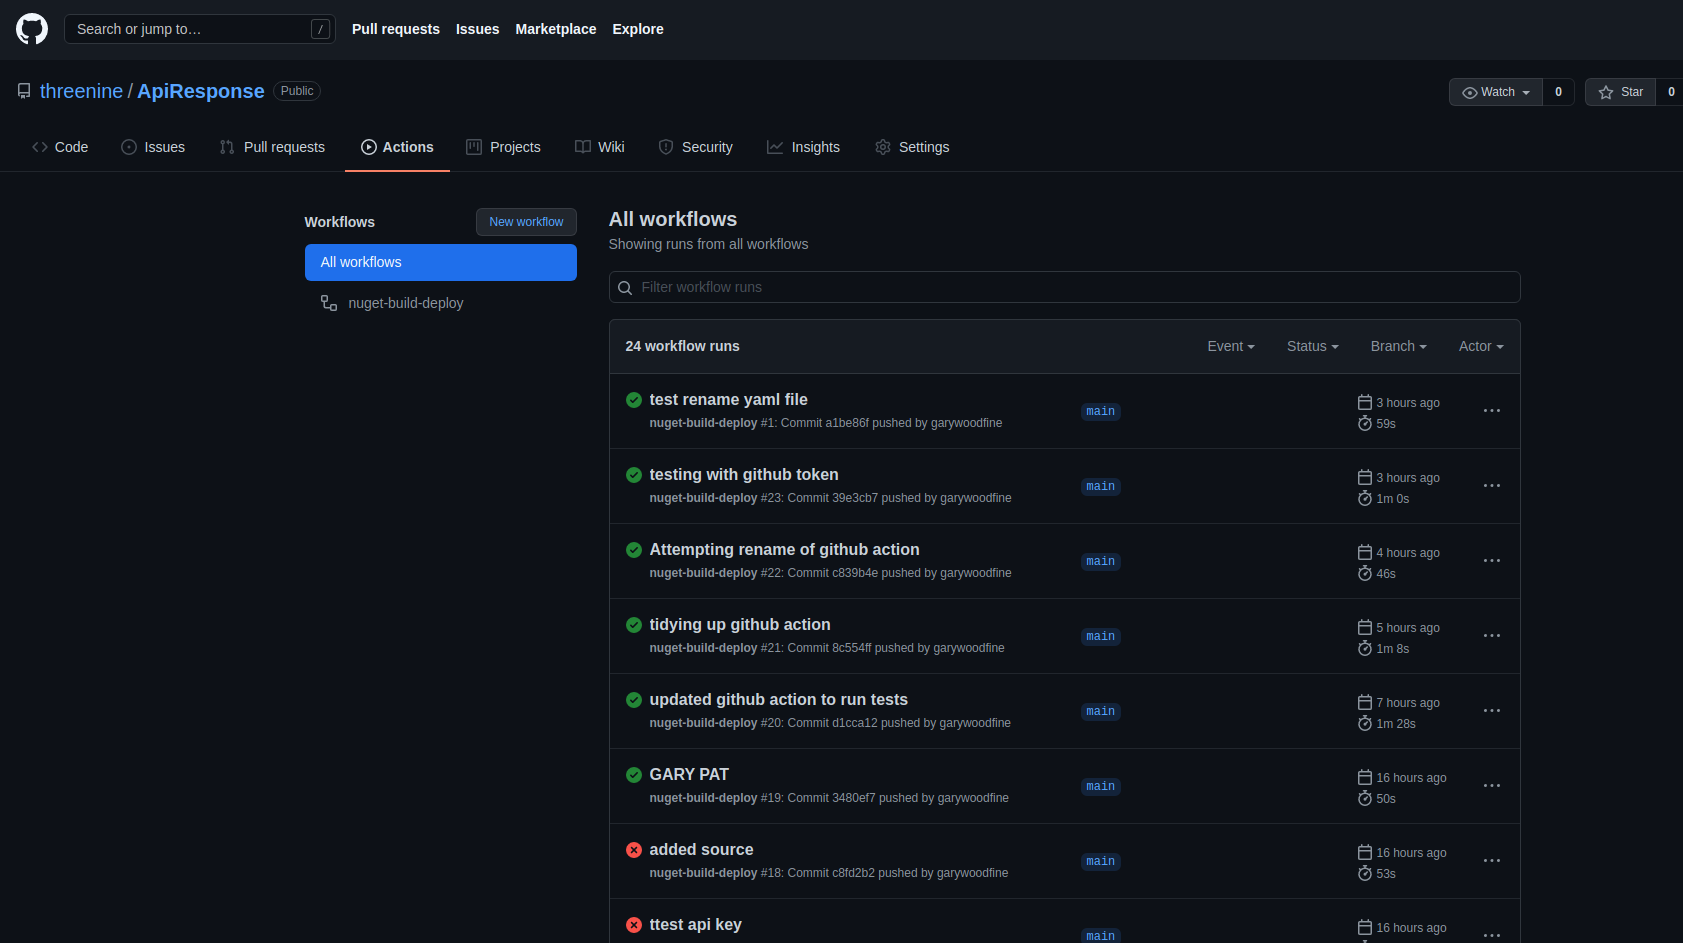
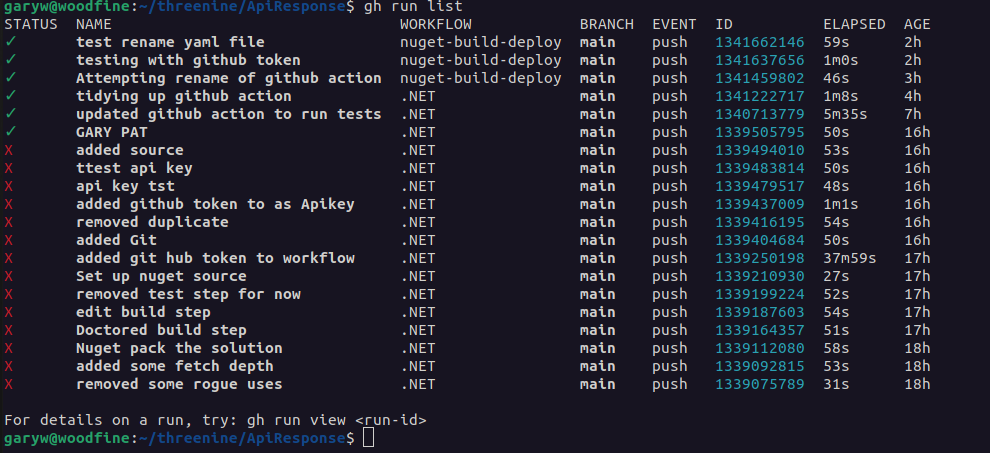
Once we commit and push our code we should be able to either login to the Web dashboard to check progress or as I prefer to do is make use of the Github Cli .
Github Web
Github CLI
Conclusion
Github actions are great for automating many tasks that a software developer has preform frequently, in this example we developed a typical CI/CD pipeline to version, build, test, package and deploy a Nuget package

- What is this Directory.Packages.props file all about? - January 25, 2024
- How to add Tailwind CSS to Blazor website - November 20, 2023
- How to deploy a Blazor site to Netlify - November 17, 2023