When working on software projects there will undoubtedly be a number of configuration items that will be required for various libraries extensions and API's , typically these may require us to store application credentials, API keys, SSH keys, database passwords, encryption keys, and so on. access etc required. In many cases these setting items will need to be kept secret, in that there values need to kept hidden but at the same time used through out the application.
In dotnet applications developers will typically tend to store Configuration values in the JSON based text file in the root of their project directory typically named appsettings.json . The main problem with storing settings in this file is that they are typically stored in open text and can be easily read and shared with anyone.
{
  "SomeService": {
    "Endpoint": "www.someservice.com",
    "Data": "SomeData",
    "Serial": "customer-512-717",
    "Password": "S0m3Cr@zyP4ssw0rd",
    "Username": "Someone@somewhere.com"
  }
}
If this file is ever accidentally committed to an version control repository, such as GitHub or Gitlab these values can then be read by anyone who can gain access to the repository. If this is a repository is a public repository then these values are open to the public.
The added problem if these values are ever mistakenly committed to a version control repository, and then quickly deleted their values will still be available in Git history file, and there values can be extracted by reviewing the history.
Secret Management in dotnet
Fortunately the dotnet framework offers a few ways to help us to more effectively manage secrets with our applications.
Using Dotnet User Secrets
Instead of exposing our configuration variable values in the in the appsetting.json file, we could make use of the dotnet CLI functionality to add secrets to a secret repository on our machine and access them withing our code without keeping them in the project folder.
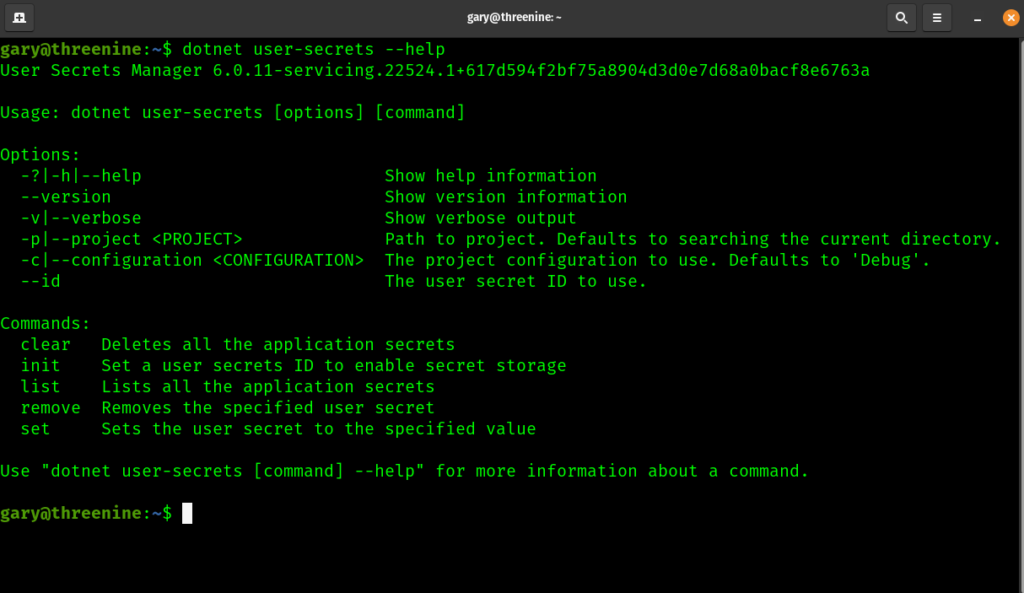
If you have the Dotnet SDK installed on your machine the dotnet user-secrets is available by default. You simply call up the Help by open a terminal window and using the following command
dotnet user-secrets --help
Which will provide you with output that looks something similar to this screenshot below:
Using these terminal commands you can view, set, edit and remove any secrets for any projects that you have defined secrets for locally.
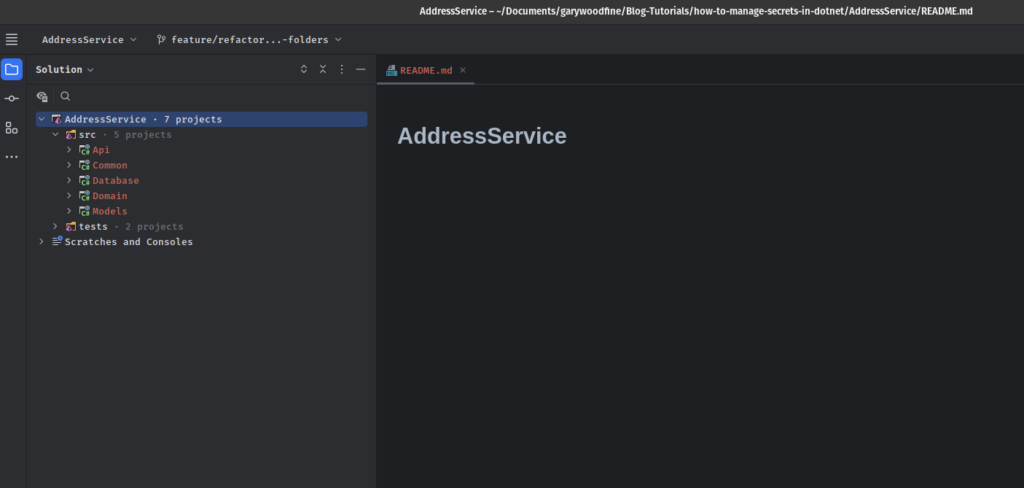
In order to learn how to use secret Manager lets create a simple project, I'll be making use of API Template Pack to generate a new REST API project, which I simply create using the following command in terminal window. The full instructions on how to install and use the API Template Pack are available on Getting Started with the API Template Pack
dotnet new apisolution -n AddressService --root Threenine
The command will generate a complete REST API project template with everything ready to start implementing REST Resource Based API's

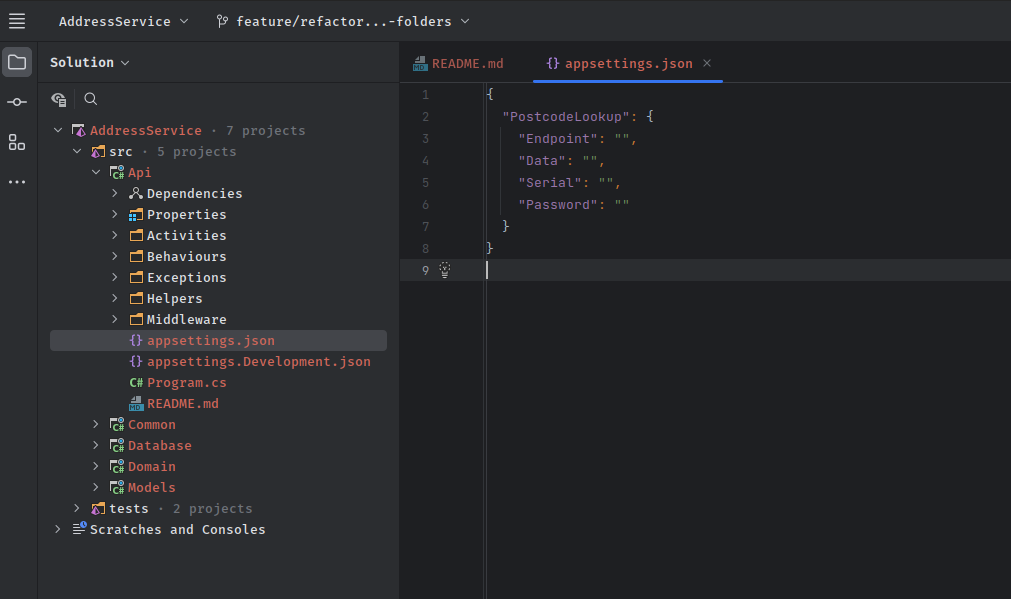
Navigate to the appsettings.json file in the root of the API project, then add the following Configuration values. We will initially just set them all to empty.
For the sake of this tutorial, we want to add some details relating to the endpoint but obviously we want to be able to store the Serial and Password details in the secrets. So we can update the details as follows and just leave the Serial and Password fields empty.
{
  "AfdSettings": {
    "Endpoint": "www.someurl.com",
    "Data": "Address",
    "Serial": "",
    "Password": ""
  }
}
How to initialise the user secret store
To be able to add our secrets to a secret store we first need to initialise a secret store for our project. The Secret Manager tool operates on project-specific configuration settings stored in your user profile.
In order to initialise the secret manager we can use the init command. We need to change into the project directory where the .csproj which we want to manage secrets for. For instance in my case the secrets I want to add is for Api.csproj in the src so effectively I need to change directory to cd src/Api or you can use the --project switch to target the project.
execute the command as per your preference:
dotnet user-secrets init --project "src/Api/Api.csproj"
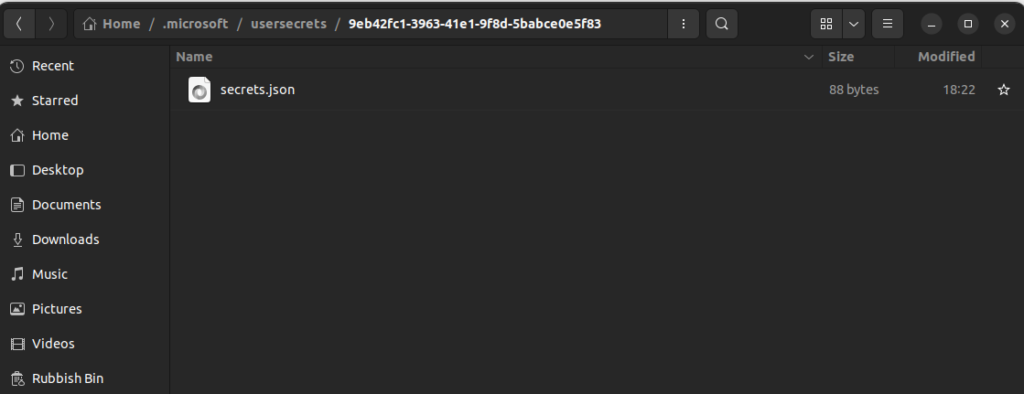
This command updates the chosen .csproj file with an additional tag containing a new Guid ID for a folder on your machine where the secrets you'll add will be stored. This folder will be created in .microsoft\usersecrets in your home folder once you add a secret. The GUID folder will not be created at this point and the GUID at this point is just a reference to a folder that will be created once we actually set a secret.
<PropertyGroup>
   <UserSecretsId>9eb42fc1-3963-41e1-9f8d-5babce0e5f83</UserSecretsId>
</PropertyGroup>
If a GUID has already defined then you can proceeed to the next section to set a secret in the user secret store.
How to set a secret in the user secret store
Once we've initialised the secret store we can now start adding secrets to it. To do this we can use the add method of the Secret manager. If as in my case you want to add a secret for specific group of settings in your application i.e AdfSettings , then we need to use a colon : to associate and object literal with a property. i.e. "AdfSettings:Password"
We can now add our secrets we'd like to keep in the secret store for this application using the following command in the terminal window.
dotnet user-secrets set "AfdSettings:Password" "S0meFunkyP@ssw0rd"
This command will create a secrets.json file in the folder .microsoft/usersecrets/9eb42fc1-3963-41e1-9f8d-5babce0e5f83
{
  "AfdSettings:Password": "S0meFunkyP@ssw0rd"
}

You can repeat this process for setting each secret you'd like to store. Which is great, but usually on projects there will often be a number of secrets to set and it can get tiresome and error prone for developers to set each secret individually.
Once you have finished adding your secrets to your secret store, you can effectively run your app at this point and dotnet runtime will auto-magically wire up your secret values to the defined Appsettings keys that require them, so your application will be to make use of the values.
How to set multiple secrets for a project
On largish projects there may be multiple secrets to set, and often there will be Development versions or development account details that all developers need to share. Which may be available in some kind of Shared portal directory like MS Teams, Slack, confluence etc. That developers will have to enter. One approach to solving this problem is create the secrets.json on one machine and share the file will all developers to register it. You can use the secrets manager with standard bash functionality to make this easier.
In this example, I have downloaded the secrets.json file to my Documents folder, and I would like to apply the secrets to my API project in my tutorial repository.
cat ./secrets.json | dotnet user-secrets set --project "garywoodfine/Blog-Tutorials/how-to-manage-secrets-in-dotnet/code/AddressService/src/Api/Api.csproj"

How to list user secrets for a project
To check the secrets defined in the project, you can either navigate to the hidden folder on your machine or alternatively just use the CLI tool to list the secrets for you making use of the list command.
In my case I want to list the secrets for my API project as follows:
dotnet user-secrets list --project src/Api/Api.csproj

Conclusion
Using the dotnet user-secrets is one of the many ways to manage secrets in dotnet apps, it's one of the most basic approaches and can be really convenient from a development perspective. I have seen this approach used in some production environments but not for storing sensitive secrets.
The points to bear in mind with this approach is that Secrets are stored in an unencrypted text file on your local machine albeit in a hidden folder. So anybody who can gain access to the machine and is aware of the hidden folder will be able to get access to view the secrets.
In a forthcoming post we will take a look at how to wire up secrets using Configuration object and entirely from code. We will also dig deeper into alternative more secure ways in how to manage your secrets.
- What is this Directory.Packages.props file all about? - January 25, 2024
- How to add Tailwind CSS to Blazor website - November 20, 2023
- How to deploy a Blazor site to Netlify - November 17, 2023


