
Regular readers of my blog, will undoubtedly know that I am a big fan of Rider: The Cross-Platform .NET IDE from JetBrains and I often refer to it in my articles. Although I am C# Developer, I predominantly work off and am a heavy user of Ubuntu Linux. I have tried many other distro's of Linux, but I have to say for me personally I believe Ubuntu to probably be the most Business Ready distribution and many enterprise organisations are most likely to have support for it, as regards to connectivity and tooling.
One of the key things an enterprise developer is most likely going to interact with on a daily basis is some sort of database system, whether it be a Document Database, Relational Database, Cache Store etc, it is more than likely you're going to developing operations that perform some action on and based on data. This may be especially true when developing Web Based API's. In fact, in our API Template Pack we follow that assumption and have even included PostgreSQL as the default database option you may want to connect your API too.
In this guide, I'll take you through the process of connecting to and have to option to manage, query and administer your database directly in Rider, meaning you never have to leave your IDE to fulfil any of your development tasks. Which incidentally is just one of the many reason why I prefer rider to any other IDE I've used over the years.
In this post, I'm going to focus on connecting PostgreSQL but the same process can be followed for literally any database systems such as MongoDB, Redis, MySQL, SQL Server, Oracle etc
If you want to follow along and need to get PostgreSQL up and running on your machine, then check out How to run docker compose files in Rider because I walk you through this process, maybe you'd like to check out my API Template Pack because it helps you set up a new Web API project really quickly and has all the supporting components you need to get up and running quickly.
Connect to your Database
If you're familiar with Jetbrains products you're probably familiar with DataGrip: The Cross-Platform IDE for Databases & SQL and in fact this is the underlying implementations that is present in most of thier IDE's, you're not just restricted to Rider to reuse this functionality, as it is present in PHPStorm, PyCharm, RubyMine etc. If you're fan of Webstorm it is avialalble as an additional Database Tools and SQL for WebStorm plugin.
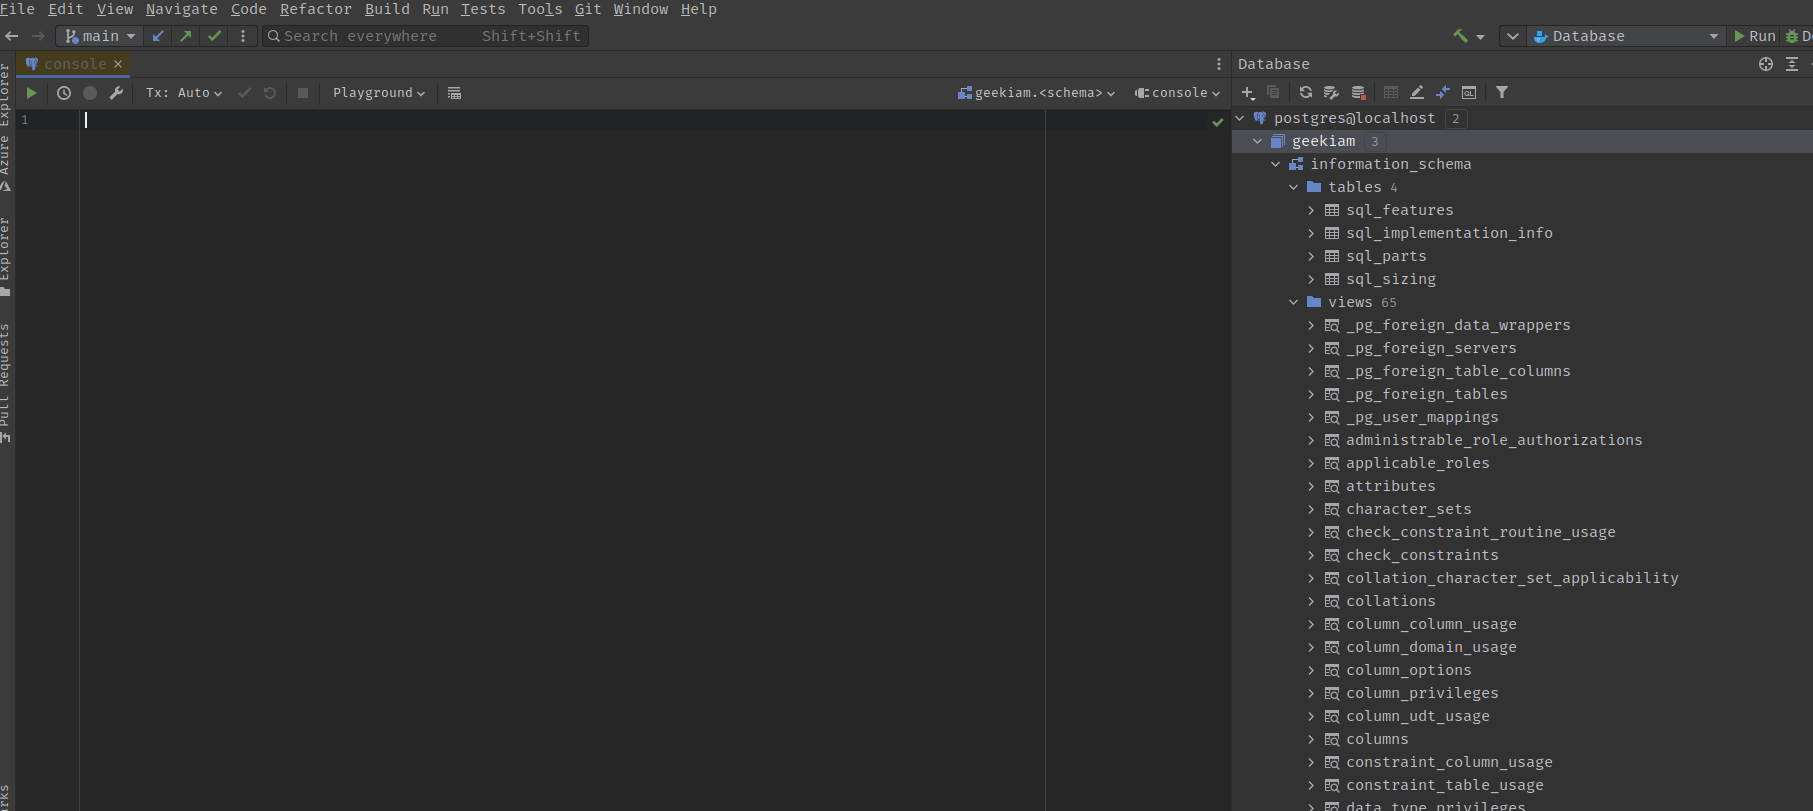
The process for connecting to your database is the same experience across all the IDE's . Simply look for the Database tab on the right hand side of your screen
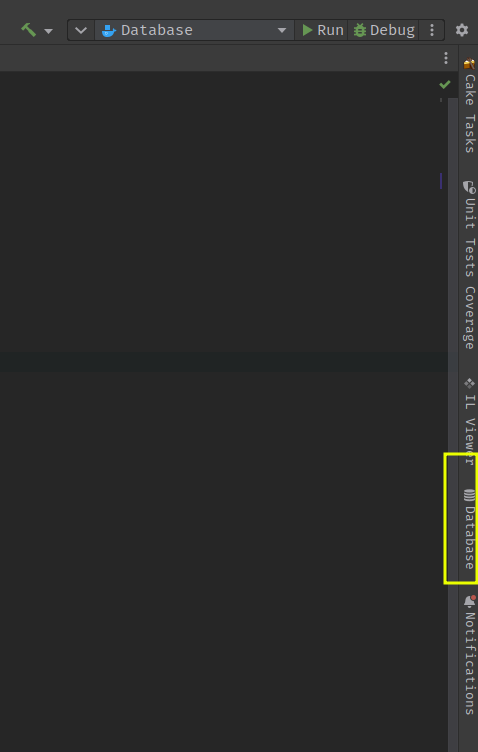
If its not there you can enable it using the View -> Tool Windows -> Database menu options.
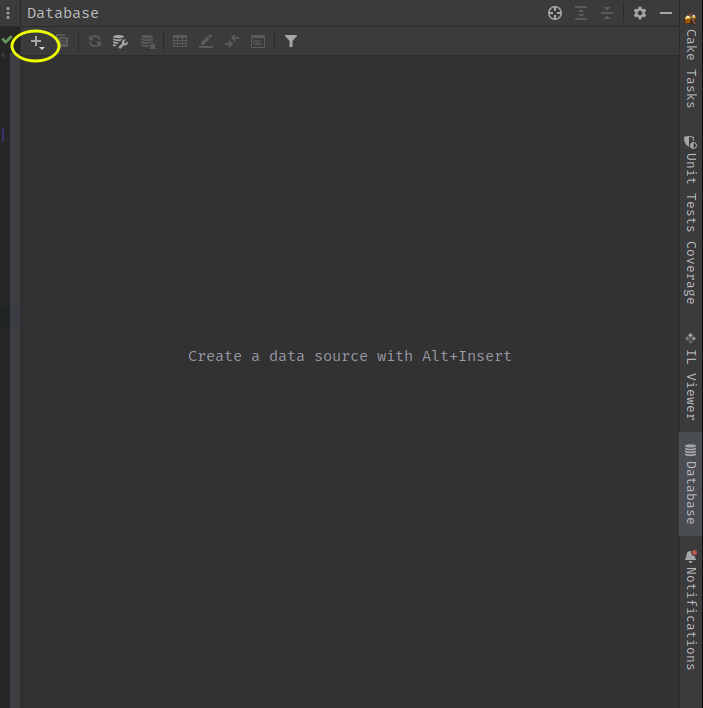
This is open panel prompting you to Create a data source with Alt + Insert , so you can either use that keyboard option or simply click the + in the top left corner of the panel
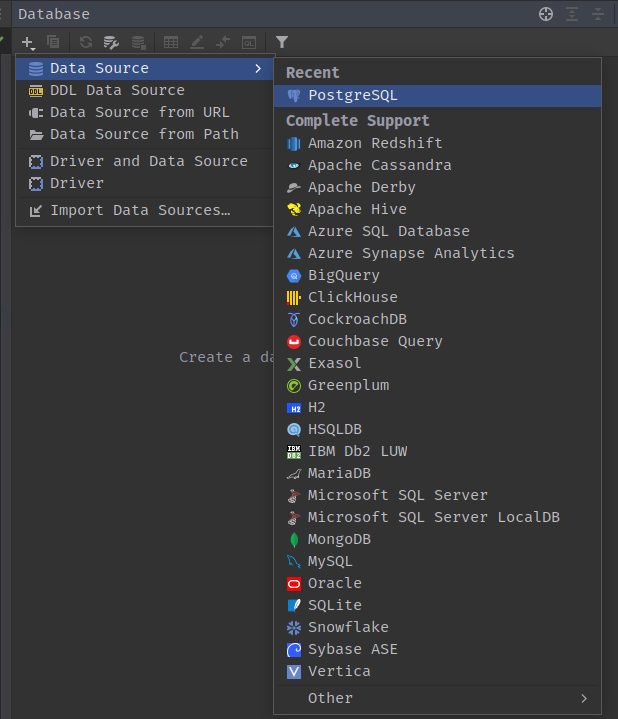
This will open the Database connection dialog so select Data Source and then navigate to your prefered choice. For this guide we're going to focus on PostgreSQL
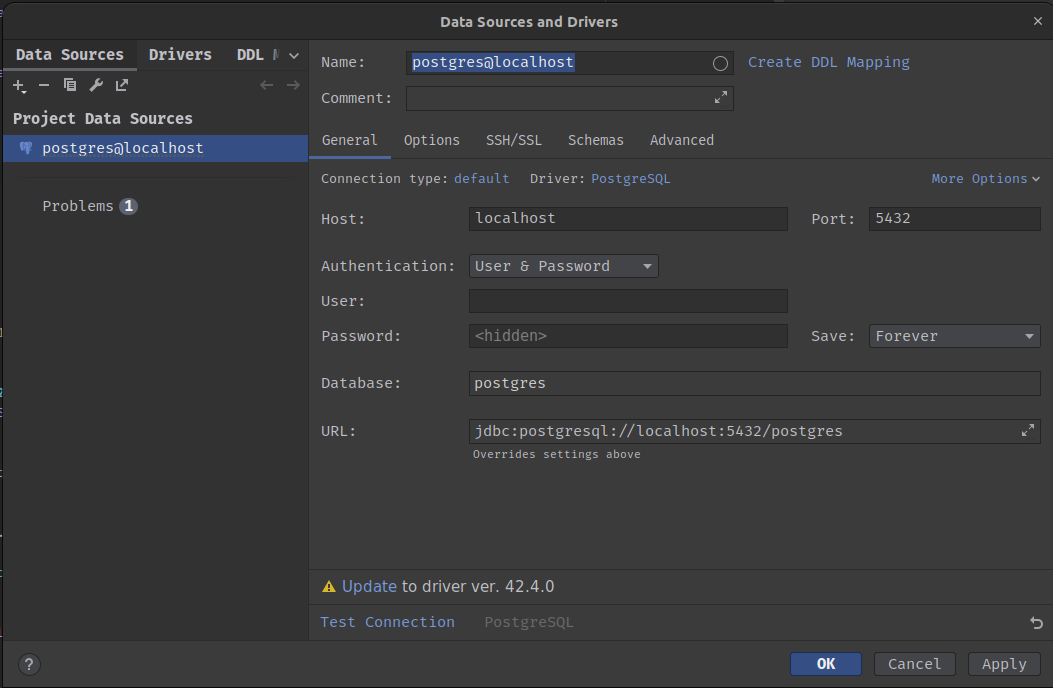
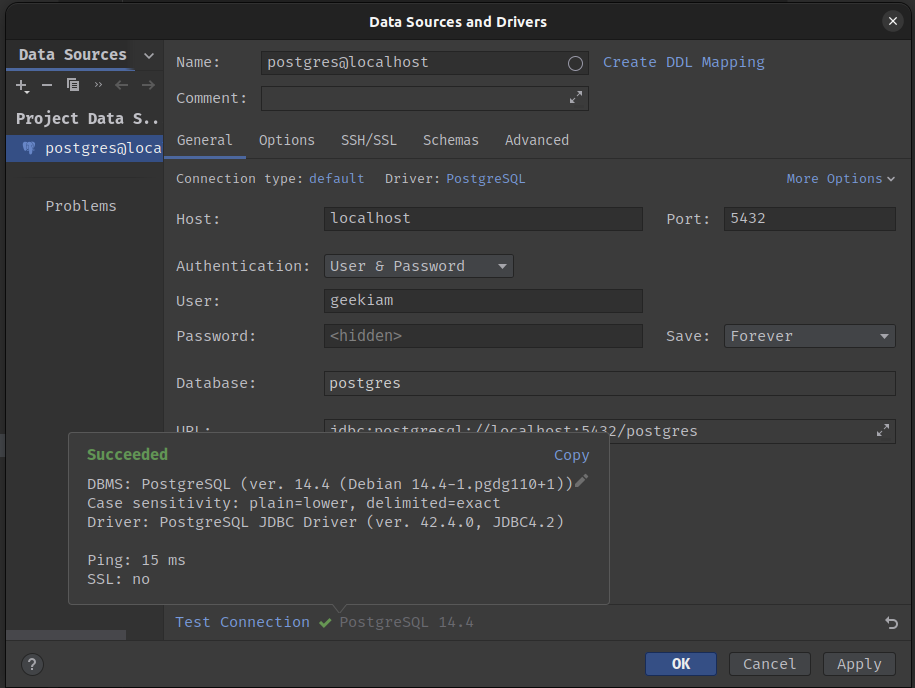
choosing your option you'll be presented with the Data Sources and Drivers screen prompting you for details required to connect your selected Database Manager. In the case below I am also notified that a more current version of the driver is available, you can either update it or not. In my case I will more than likely update it.
In my scenario, I will be connecting to the PostgreSQL I have running locally as a Docker Container which I have simply started using the Docker Compose script provided in the API Template Pack .
We'll just use the User & Password option, enter the details required and then click the Test Connection
Once I have verified that the connection is correct then I can navigate to the Schemas tab and select which Schemas I will be interested in. In this case I will just select All Databases for demonstration purposes.
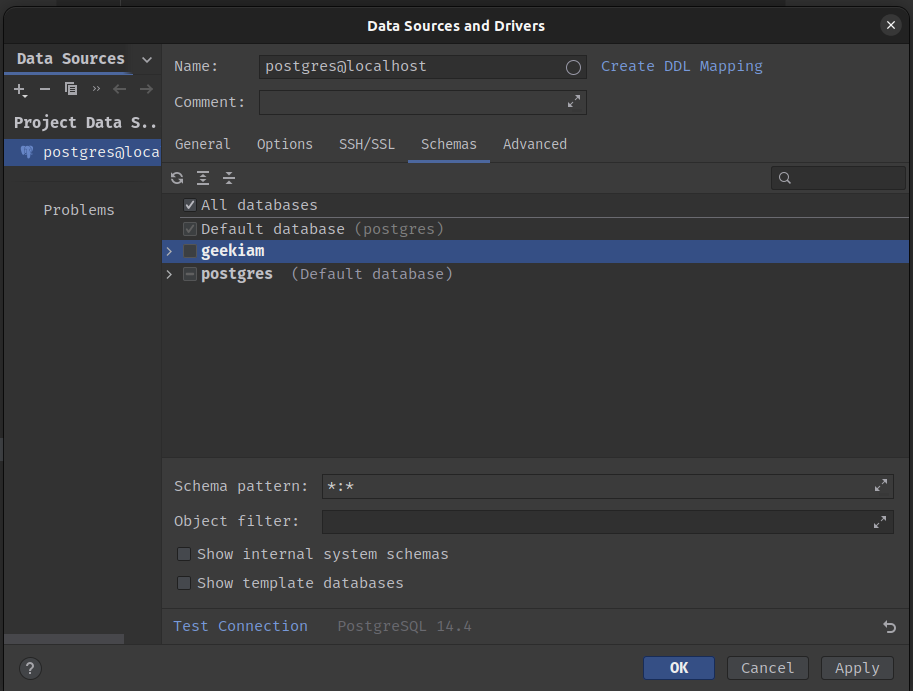
Once complete simply click Apply or Ok. Your Database tab will now contain your chosen database details
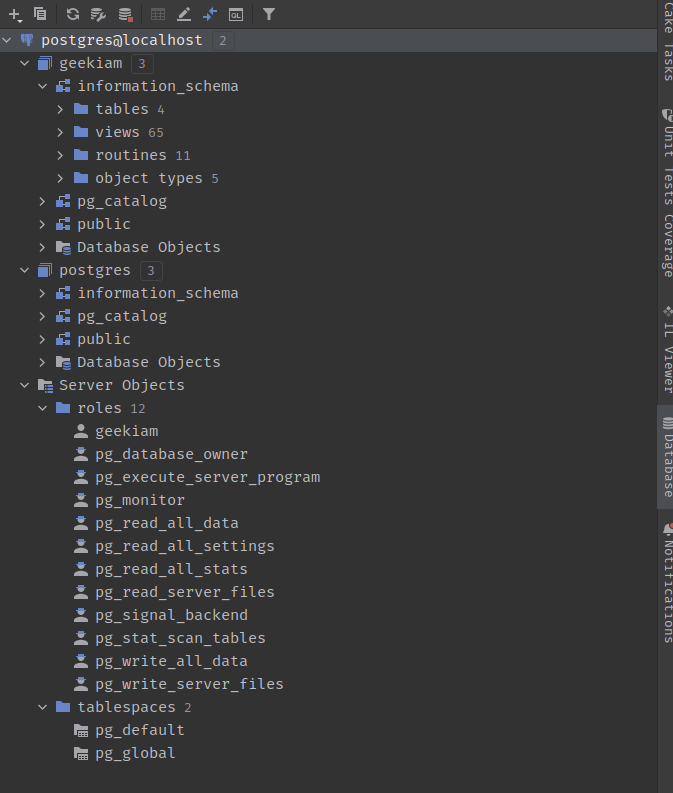
In my particular case I have connected to a database where I have not applied any Migrations or created any tables as yet. However, I am still able to browse the rest of the tables and view what options have been installed and enabled on my particular server.
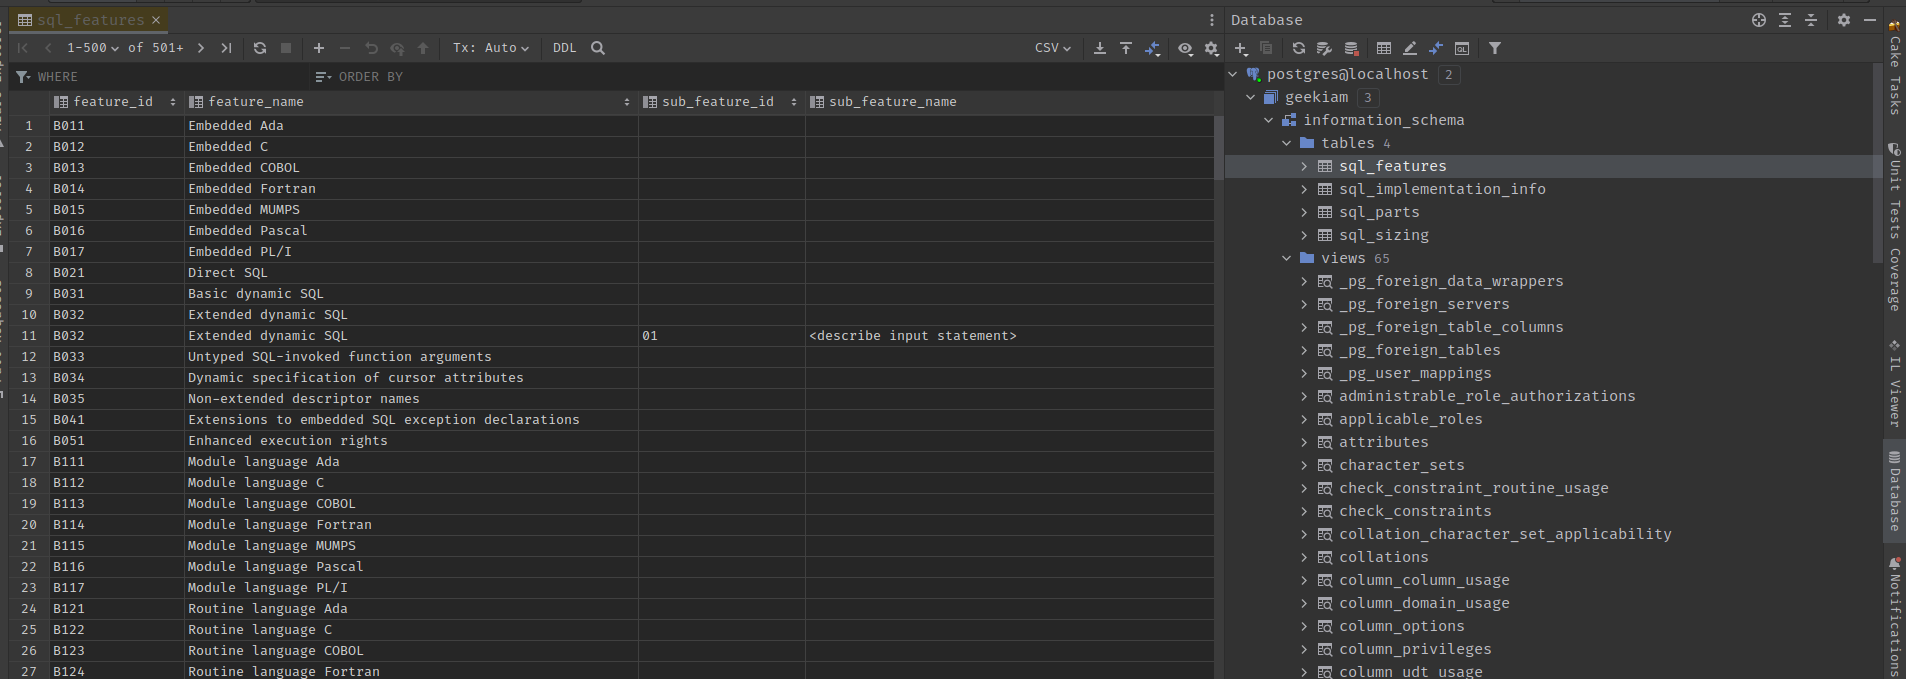
To browse any particular table we can simply double click on the table and it will open up within the IDE and its contents will be displayed. In my case we'll open the sql_features table to see what it contains.
Query Console
One of the most common tasks you undoubtedly need to accomplish on daily basis is to write queries to get and modify data in your database. The database tools lets you accomplish this with ease.
To do simply right click on your chosen database and Select New -> Query Console. This will open a query console to enable you to write and execute SQL statements against your Database.
As an example you can write the query below and clicking the Green execute button in the left hand corner of the query console will extract only the feature_ids for the sql_features table.
Select feature_id from information_schema.sql_features
This is a great mechanism for interacting directly with the database from within your IDE.
Conclusion
I tend to use these features quite a lot and hardly ever need to leave my IDE during my day to day tasks. I felt the need to write this article after noticing colleagues often switching between IDE's and various Database management tools, and I had to ask why.
When using any of the Jetbrains tools you have these capabilities baked in and even if you don't there is a probably a plugin available that will help.

- What is this Directory.Packages.props file all about? - January 25, 2024
- How to add Tailwind CSS to Blazor website - November 20, 2023
- How to deploy a Blazor site to Netlify - November 17, 2023