
As a developer I frequently developed containerised applications that are deployed to a Kubernetes production environment. Typically this environment might be managed or configured by a different team or organisation so I rarely get to really know or understand the environment in depth.
Over the past few months, we've been experiencing environment issues and i have felt a bit like a spare wheel by not being able to assist. I also realised that although I have been working with K8s for a few years, I didn't really understand it in depth. Which is ironic when you think about considering all the hype these days about Devops .
So this week I have taken the plunge and decided to resurrect an old spare tower server I have in my office and just learn K8s in depth. I thought I have play with MicroK8s on a server.
Kubernetes is an open-source system that is used to automate deployment, scaling and management of containerised applications. It provides a framework to run distributed systems, taking care of scaling and fail over for your applications.
Single Node kubernetes cluster
A Kubernetes cluster is a set of node machines for running containerised applications. If you’re running Kubernetes, you’re running a cluster.
a cluster contains a control plane and one or more compute machines, or nodes. The control plane is responsible for maintaining the desired state of the cluster, such as which applications are running and which container images they use. Nodes actually run the applications and workloads.
single-node clusters make sense, for development or testing purposes because there is no need to deploy a full-blown production-grade cluster. Single-node deployments are also handy for appliances and IoT applications since they have a much smaller footprint.
MicroK8s enables the deployment of a lightweight single-node cluster to a server, device or even you local machine.
Installing MicoK8s
There are a couple of ways you can install MicroK8s on Ubuntu server. The first one is fairly easy, by just enabling it when installing Ubuntu 20.04 in the server configuration utility.
The second approach is the way I did it on my server, as I had already previously installed Ubuntu without enabling Microk8s, by installing it use Snap store.
I had previously enabled SSH on the server so started an SSH session on the server or you can achieve the same opening a terminal session on the server.
# Installing Microk8s
sudo snap install microk8s --classic
Once the installation has completed we can confirm that Microk8s has installed by checking the status.
# Check Microk8s status
sudo microk8s status
Note : We have had to execute microk8s using elevated priveleges, which we don't really want to do. So lets sort that out.
Add User Account to MicroK8s Group
To add your user account to the microk8s execute the following command.
# Add current user to Microk8s
sudo usermod -aG microk8s $USER
refresh your terminal session and the new privileges to take effect, run the below commands next. In my case I simply rebooted the server in order for the priveleges to be refreshed.
sudo reboot
Once the server rebooted you can execute
microk8s status

microk8s status
microk8s is running
high-availability: no
  datastore master nodes: 127.0.0.1:19001
  datastore standby nodes: none
addons:
  enabled:
    dashboard            # The Kubernetes dashboard
    dns                  # CoreDNS
    ha-cluster           # Configure high availability on the current node
    metrics-server       # K8s Metrics Server for API access to service metrics
    storage              # Storage class; allocates storage from host directory
  disabled:
    ambassador           # Ambassador API Gateway and Ingress
    cilium               # SDN, fast with full network policy
    dashboard-ingress    # Ingress definition for Kubernetes dashboard
    fluentd              # Elasticsearch-Fluentd-Kibana logging and monitoring
    gpu                  # Automatic enablement of Nvidia CUDA
    helm                 # Helm 2 - the package manager for Kubernetes
    helm3                # Helm 3 - Kubernetes package manager
    host-access          # Allow Pods connecting to Host services smoothly
    inaccel              # Simplifying FPGA management in Kubernetes
    ingress              # Ingress controller for external access
    istio                # Core Istio service mesh services
    jaeger               # Kubernetes Jaeger operator with its simple config
    kata                 # Kata Containers is a secure runtime with lightweight VMS
    keda                 # Kubernetes-based Event Driven Autoscaling
    knative              # The Knative framework on Kubernetes.
    kubeflow             # Kubeflow for easy ML deployments
    linkerd              # Linkerd is a service mesh for Kubernetes and other frameworks
    metallb              # Loadbalancer for your Kubernetes cluster
    multus               # Multus CNI enables attaching multiple network interfaces to pods
    openebs              # OpenEBS is the open-source storage solution for Kubernetes
    openfaas             # OpenFaaS serverless framework
    portainer            # Portainer UI for your Kubernetes cluster
    prometheus           # Prometheus operator for monitoring and logging
    rbac                 # Role-Based Access Control for authorisation
    registry             # Private image registry exposed on localhost:32000
    traefik              # traefik Ingress controller for external access
you no longer have to prefix the sudo command. To test, run the microk8s kubectl commands in the terminal.
# Getting available nodes
microk8s kubectl get nodes
# Displaying all contents in all the namespaces
microk8s kubectl get all -A
This will confirm everything is working.
Add Alias for kubectl
If you're anything like me you'll eventually get fed up of having to use microk8s everytime you want to execute a kubectl command. Fortunately, you can add an alias to to your .bashrc file. To do this simply open you .bashrc with any text editor and add the following
# Open .bashrc with text editor in my case I will use nano
nano ~/.bashrc

# add the folowing alias
alias kubectl="microk8s kubectl"

# save and exit your editor
# then refresh your terminal
. ~/.bashrc
You should now be able to execute kubectl commands without the microk8s
kubectl get all -A
Enabling and Accessing Kubernetes Dashboard
Microk8s provides a wide range of add-ons. One of which is the dashboard a Kubernetes web-based dashboard. The dashboard allows viewing and interacting with the resources using a GUI.
You will need to enable the dashboard before we can use it
# Enable Kubernetes dashboard
microk8s enable dashboard
I have installed microk8s on a headless server, so will only be able to access the dashboard on a machine on my network using Firefox Browser. To do so I will first need to enable the proxy.
microk8s dashboard-proxy
On doing so the Microk8s will provide you with a system specific token you can use to login on
Checking if Dashboard is running.
Dashboard will be available at https://127.0.0.1:10443
Use the following token to login:
eyJhbGciOiJSUzI1NiIsImtpZCI6Ikx1TDNXSFV3QXJZU2NyQXJYcGJhNXFRLWhIcThVeXg1NDJlZDB2b3h5cTQifQ.eyJpc3MiOiJrdWJlcm5ldGVzL3NlcnZpY2VhY2NvdW50Iiwia3ViZXJuZXRlcy5pby9zZXJ2aWNlYWNjb3VudC9uYW1lc3BhY2UiOiJrdWJlLXN5c3RlbSIsImt1YmVybmV0ZXMuaW8vc2VydmljZWFjY291bnQvc2VjcmV0Lm5hbWUiOiJkZWZhdWx0LXRva2VuLWs1cm52Iiwia3ViZXJuZXRlcy5pby9zZXJ2aWNlYWNjb3VudC9zZXJ2aWNlLWFjY291bnQubmFtZSI6ImRlZmF1bHQiLCJrdWJlcm5ldGVzLmlvL3NlcnZpY2VhY2NvdW50L3NlcnZpY2UtYWNjb3VudC51aWQiOiI0MGViMDc5NC0wYzNmLTRkNmUtYWMxMC1kNmUyYzk2NTVjNDUiLCJzdWIiOiJzeXN0ZW06c2VydmljZWFjY291bnQ6a3ViZS1zeXN0ZW06ZGVmYXVsdCJ9.LmFllf_pM8RYSn1qlvl7VLeOdfIHqPNmJ3QCLkhYLDt3Q4CtjrvEZvmT8ZjyjF01ehseDKwWsAmRGcfaSdZ9cfFVbhnsQ5GvgmfjXLN3ewiEBOmErk8cza2tq-sUe_ziN7F4gpZK7O5iv3UPMn93GXc9-LcN6WG7t5x2r0zXctHJZ9_kXxWPXFPn_jhiTN3GXPu77q4ZCrvtcKw5jTn6SXoG_0Cs5N4ph1-lfBW4Eom8EARm2f4d_g2U-fjcr48BWQEJLMMYe_pquJ5HmIhWm5IT-xNH5i3jnVDgEDiubfX8LVE_wFJs2stjiamc-su1tMg_syd-pyf_tRBaFx3fnw
This will provide a token that can be used to login to the dashboard from another machine., using the IP address of my server and the port i.e. https://192.168.0.35:10443
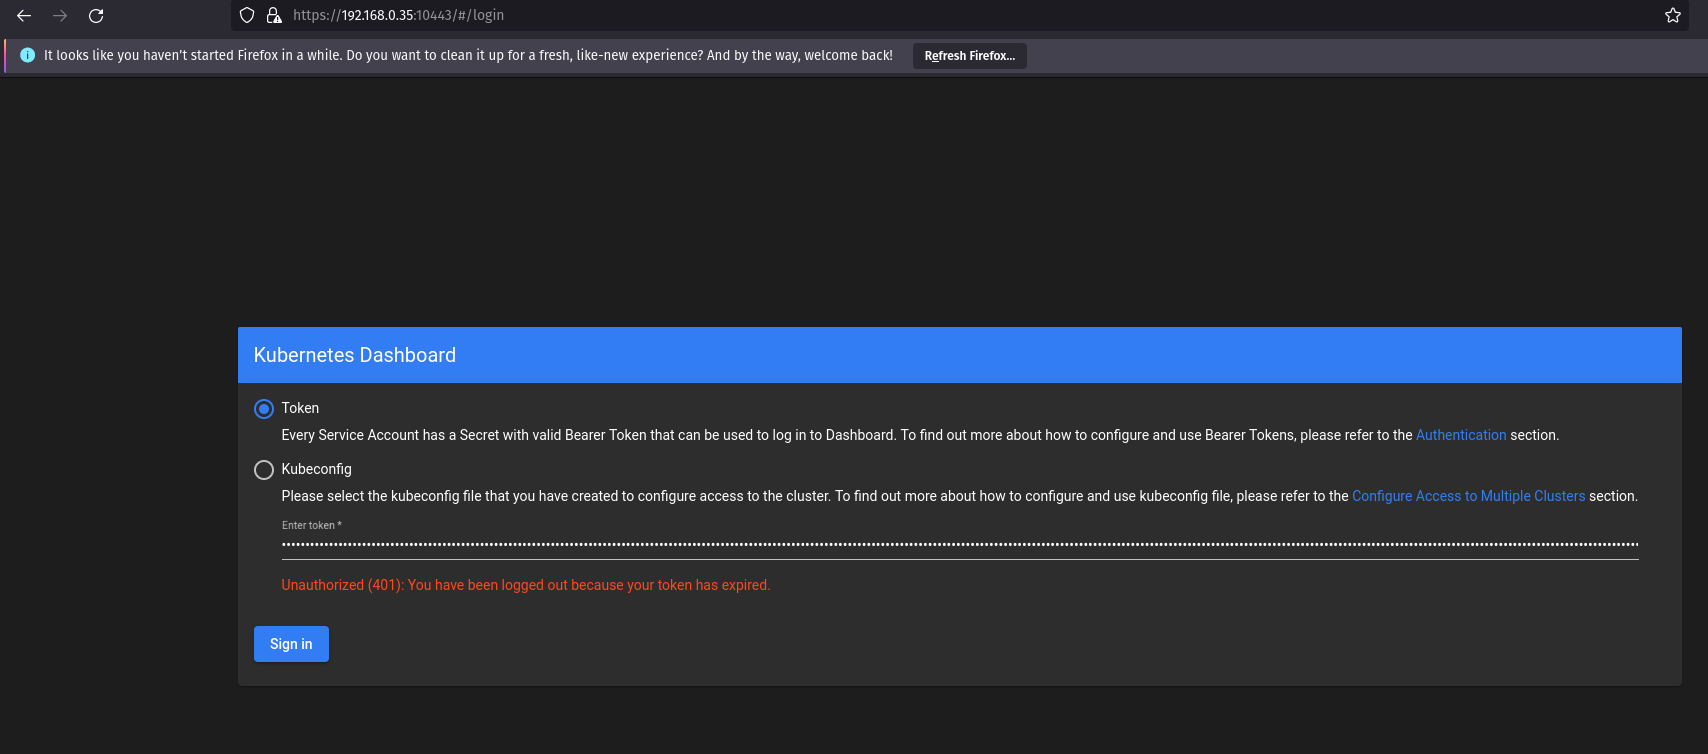
Paste in the token copied from the terminal window
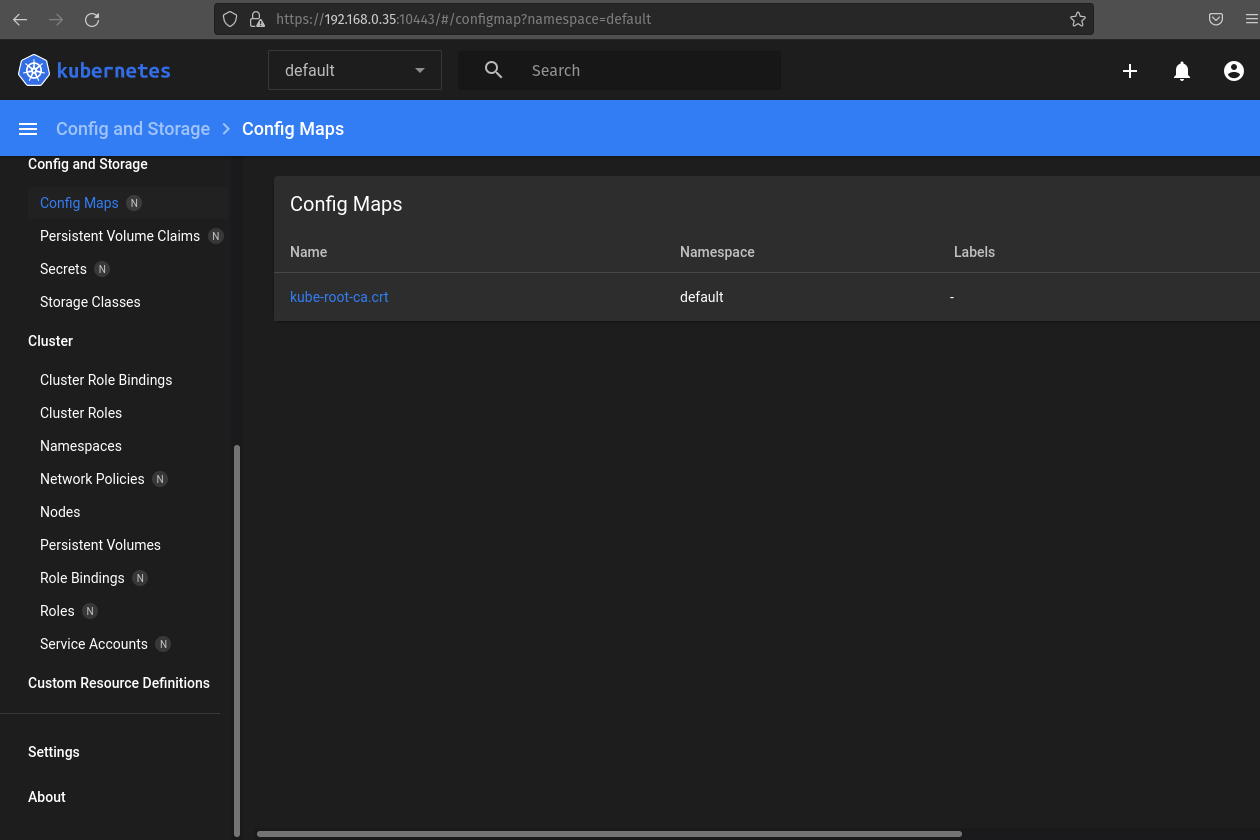
Here we access to the k8s dashboard.
This works great if you're only want to access the dashboard occasionally and you don't want to have it exposed to the network. However, you may want to be able to access the dashboard regularly and have it always available, How to access Microk8s dashboard without proxy
Conclusion
We have got Microk8s up and running on our local server and we have been able to access our K8s dashboard on another machine. This brings us to the end of this little walk-through I didn't want to over complicate it at this point, because for many folks this is quite a lot to get up to speed with anyway, it certainly was for me 🙂
Checkout How to access Microk8s dashboard without proxy as the next part of this series
- What is this Directory.Packages.props file all about? - January 25, 2024
- How to add Tailwind CSS to Blazor website - November 20, 2023
- How to deploy a Blazor site to Netlify - November 17, 2023