
When developing an Application Programming Interface ( API ) for your application it's important to ensure you provide clear and concise information for developers who you intend to use your API.
This helps them to get up to speed and reduce the learning curve for them to start using and integrating your API into their applications. The primary objective is to remove friction to improve the chances of adoption for your API.
One of the best approaches to this is to develop your documentation as you develop your code. This not only enables you to keep your documentation clear and up to date, but it also ensures you clearly focus on the intent of your code.
Swagger framework of API developer tools for the OpenAPI Specification(OAS), enabling development across the entire API life-cycle, from design and documentation, to test and deployment. Swagger provides an UI representation of your RESTful API. Enabling users to visualize and interact with the API’s resources having none of the implementation logic in place.
To illustrate this approach I'll use a sample of a project where we have started to implement this approach.
Developing API for other developers and integrator's to use , you will need to ensure that you supply clear and easy to understand documentation. Documenting or describing your REST API's doesn't have to a boring chore , in fact using a framework like swagger makes it really easy.
What is Swagger
Swagger is an Open Source API Specification Framework, enabling interactive documentation and SDK generation over your Existing REST API.
In this guide I will provide a working example of how to use swagger to start documenting an API. I'll be starting a brand new development project.
We'll start off creating a standard DotNet Core Web API project using one of the quick start templates , Create a .net core web application on ubuntu in 5 minutes , as you might guess I am using Ubuntu as my primary development workstation, but the general process of creating a project is the same regardless of operating system.
After creating the project give it a quick test to ensure that all is working as expected.
We can now browse to the api http://localhost:5000/api/values
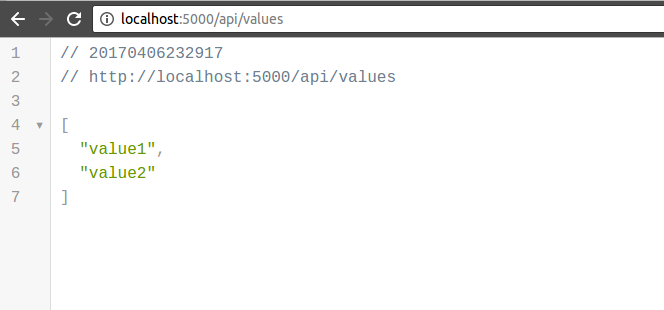
Our new very simple API is working!
Install nswag nuget package
NSwag is a Swagger/OpenAPI 2.0 and 3.0 toolchain for .NET, .NET Core, Web API, ASP.NET Core, TypeScript (jQuery, AngularJS, Angular 2+, Aurelia, KnockoutJS and more) and other platforms, written in C#. The OpenAPI/Swagger specification uses JSON and JSON Schema to describe a RESTful web API.
The NSwag project provides tools to generate OpenAPI specifications from existing ASP.NET Web API controllers and client code from these OpenAPI specifications.
Once complete we can update our StartUp.cs class with the following code.
This may be bit of a personal preference, but I like to update my launchSettings.json file automatically display the Swagger page when we start the API in development, so we can display our End Points so we can easily test them.
We can now build and start our API again
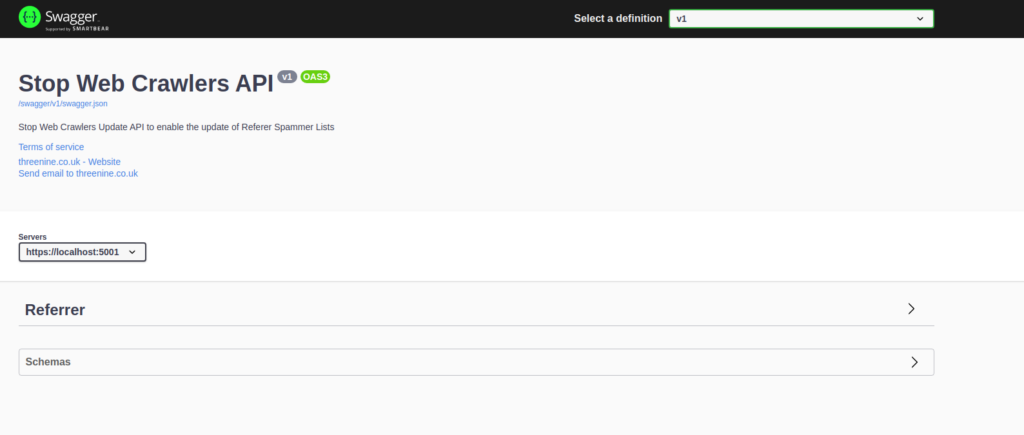
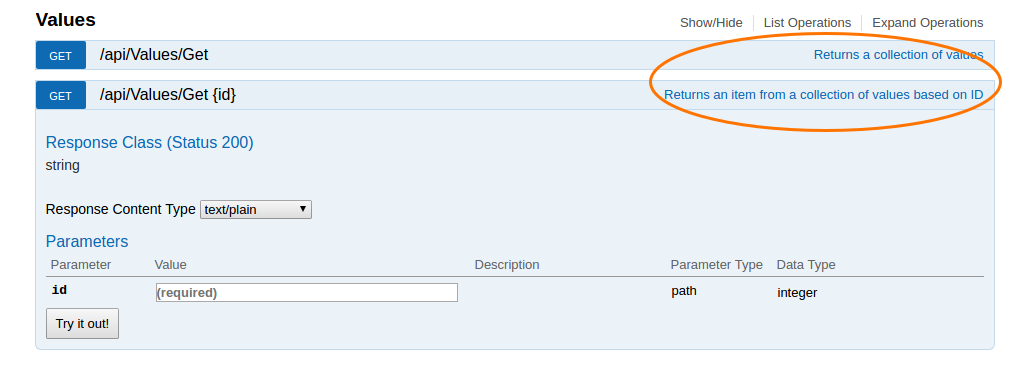
If we now navigate our browser to http://localhost:5000 we'll now see the Swagger Ui which is handy for testing your methods and checking their correct responses without needing tools like Postman etc.
Using Visual Studio we can do this by right clicking on the API Project File and selecting Properties then Select the Build tab
Using VS Code we will need to edit and add some additional lines to our .csproj file.
Annotate Controller Methods
This is an important step when documenting your API. All your publicly accessible methods will require annotation in order for the documentation to generate. If you fail to annotate your public methods, this may result in an error page being generated, which to be honest can be quite confusing and cryptic.
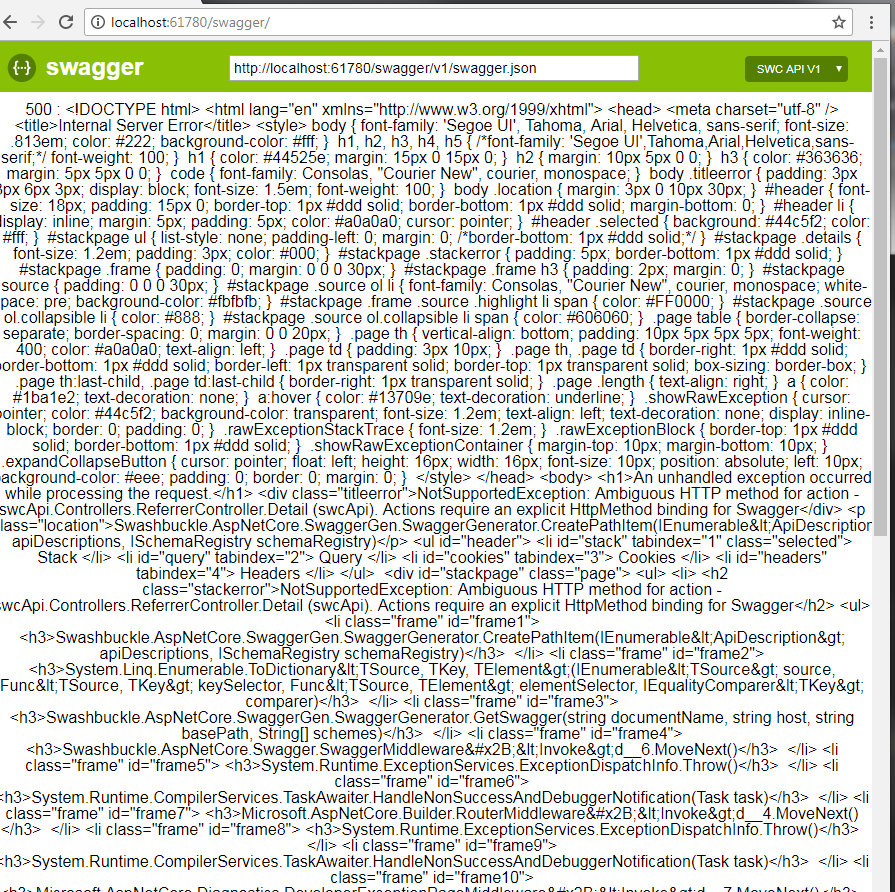
Essentially what this error page attempts to tell you is that, Swagger detected some public methods, but wasn't sure if they were API methods so just fell over in a heap.
We should annotate our public controller methods and while we're at it add some additional XML Comments to provide further detail as to what our API delivers.
In this example I have just decorated the simple controller with some example documentation for illustrative purposes.
When we review our swagger documentation we'll now see our additional comments appear.
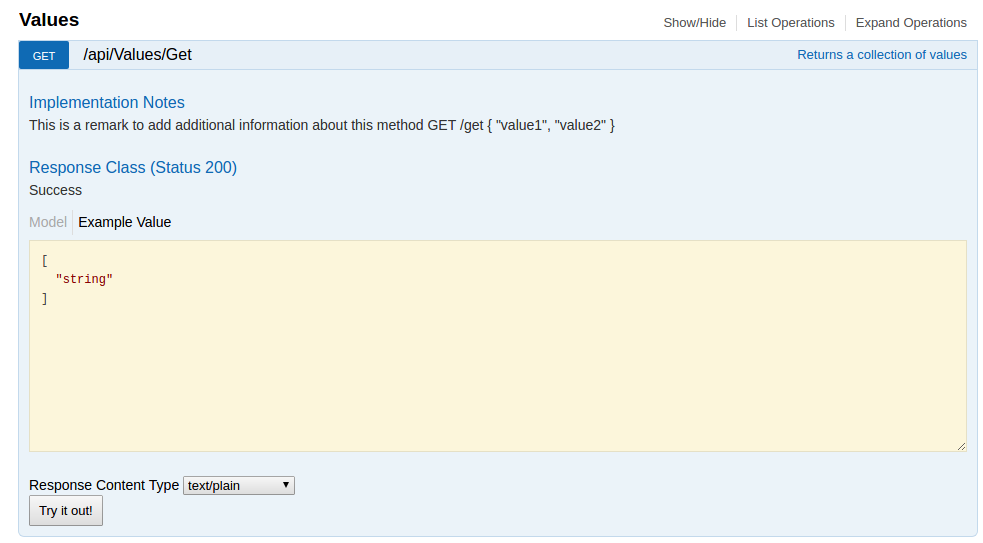
There may be occasion when you would like to provide further information as to the inner workings of the API. This can be achieved by using the additional Remarks
This content can be further enhanced with some additional text or even adding additional JSON or XML for further details.
This information will now be displayed as follows
Summary
Swagger is a great tool to document and test your RESTFul APIs. Taking the time to integrate, provides benefits to you and your team by creating a simple UI to list all your APIs actions and provide details about the request and response object for each API action.
Integration with ASP.NET Core 2.0 is straight forward and requires minimal efforts. Swagger also offers various customization to suit your needs. In a future post i will provide details how to customise the swagger UI to implement your branding etc.
- What is this Directory.Packages.props file all about? - January 25, 2024
- How to add Tailwind CSS to Blazor website - November 20, 2023
- How to deploy a Blazor site to Netlify - November 17, 2023