
When developing a new project using Gridsome you will undoubtedly come across situations when even though Gridsome has a large number of Gridsome Plugins that enable you to quickly and easily extend and enhance the functionality that provides, which I have previously discussed in Gridsome – Explore plugins to make life easy , but you may find circumstances where you may still require you to develop your own plugin.
Fortunately, Gridsome makes this relatively easy for you do so. In this post, we will develop a Gridsome plugin to help other developers making use of Gridsome to run for their Software Developers blogs to enable them to integrate Amazon Onelink.
The actual functionality of the plugin is really immaterial for the real purpose of this article. However, for other aspiring tech bloggers it may be useful to understand some of the background.
What is Amazon Onelink
Amazon OneLink is a tool in the Amazon Associate dashboard that allows you to link your different Amazon Associate accounts, providing geo-localized redirection from your affiliate website to a relevant Amazon product.
This will help you earn more affiliate income by converting website visitors from multiple countries at once.
OneLink is backward compatible. Once configured, it will work for all your new and existing Amazon affiliate links. It also works with Amazon’s short links.
Amazon OneLink currently only works for the US, United Kingdom, Canada, Italy, France, Spain, Germany, and Japan Amazon associate accounts and can currently only be set up from your US associate account.
Why Should You Use Amazon OneLink?
If you want to utilize traffic from other countries, then Amazon OneLink is a way to go. You can either set up the links manually (register and grab the affiliate id for each country) or use a 3rd party plugin/service for creating Amazon affiliate links.
The first one is obviously time-consuming. Using 3rd party plugins or services makes the job a lot easier but also brings potential issues. Like compatibility problems between plugins, nor redirecting visitors correctly, hijacking commissions, mess affiliate links, etc. However, these all are slowly starting to change thanks to OneLink.
In short, if you have traffic from UK and CA coming to your site on which you have US Amazon affiliate links, then it is a good idea to take advantage of Amazon OneLink and see if you will earn extra cash from those locales.
How to Set Up Amazon OneLink?
I won't go into explicit detail on how to set up the Amazon OneLink, for a couple of reasons:
- Amazon already has sufficient detailed information on how to do this
- The process is likely to change, as is the case with most Amazon products
If you want to sign up for Amazon OneLink then sign up and log in your Amazon Associates US account, click on “Tools†and select “OneLink.â€
Why develop a Gridsome plugin
Amazon Onelink requires you to add an additional attributes to your website, which essentially adds an additional script to the footer of your website. We're going to develop a plugin to do this for us enabling use just to add the configuration details to our Gridsome.Config.js
How to start developing a Gridsome plugin
At the time of writing Gridsome does not currently have any tooling available to enable you to create a Plugin project, so for the time being it is a still a fairly manual process.
We will be developing our plugin obviously making use of JavaScript and Node.js, so typically we will first start up creating our new project making use of the npm init , a more detailed discussion on How To Use Package Management In JavaScript Projects is available over at the new blog and business we are gradually building.
We will also go ahead create a new git repository and a remote Github repository for our project. Check out How To Create A New Github Repository Using The Terminal .
Our first step to creating our project once we have finished creating our package.json file following the instructions on How to use package management in JavaScript Projects and A Deep Dive On The Package.Json File
Naming the Plugin
One of the first things we need to consider is naming our plugin, there is a convention the Gridsome implements to aid in Plugins being discovered on the npmjs.com is that we need ensure the name for a plugin starts with gridsome-plugin-* or @username/gridsome-plugin-*.
With this in mind we will name our plugin gridsome-plugin-amazon-onelink
We will also ensure we add gridsome and gridsome-plugin to our package.json keywords
Create a General plugin
Our plugin is essentially going to provide client side behaviour in a Gridsome web application, so we will mostly be making use of the Gridsome Client API to provide functionality. The client API lets you install Vue plugins, register components and directives and modify the options passed to the Vue instance. You can also add router hooks and HTML metas.
We need to add an additional file in the root of our newly created Javascript project named gridsome.client.js in this file we will add the following code.
The function will receive the plugin options as second argument and the context as the third, and for the third argument we want to explicitly extract the isClient property, which will help us to deduce whether our plugin is being run within the client context.
The first line of code we will add to the method is to exit execution if our plugin is not being run in the client context. This will help eliminate our plugin being run other contexts, ensuring safety.
Our plugin is going to enable configuration items to passed in, so others who make use of our plugin will be able to add configuration details when registering the plugin in their gridsome.config.js file.
In our case we're going to able users to add their Amazon Onelink ID, so typically the configuration they will need to add to their gridsome.config.js will look as follows.
In this instance the user is storing their ID in the Environment Variables.
In our plugin the Amazon Onelink ID is a key part and without it our plugin may be useless. So we will want to put in a check to validate the user has supplied an ID and if they have write an error log to the console for them. To do this we will make use of the second argument which is passed into the function which provides the plugin options. We will check to ensure if the id property has been supplied
The next section of our plugin code essentially creates a script block which contains a url link to the amazon script required and adding the OneLink ID.
The next section creates an additional Div which is required also including the OneLink ID.
We then insert these two components at the end of our document, making use of the document.body.insertAdjacentHTML . Our completed plugin code will look as follows.
Testing Gridsome Plugin
We will want to test our plugin before we publish to the NPM Library. In order to do so we can make use of the npm link which will create a symlink in the global folder {prefix}/lib/node_modules/<package> that links to the package where the npm link command was executed. (see npm-config for the value of prefix). It will also link any bins in the package to {prefix}/bin/{name}.
In order to do this we open a terminal window in plugin directory. In my case I use Webstorm : The smartest JavaScript IDE which has a built in terminal window and run the command:
Then I open the project I want to use the plugin in, in this case the Geek.I.Am website project, in another Webstorm instance, and open anther terminal instance there to execute the following command to link the plugin project to it
We can add the plugin configuration defined earlier to our gridsome.config.js in this case intentionally omitting the Amazon Onelink ID.
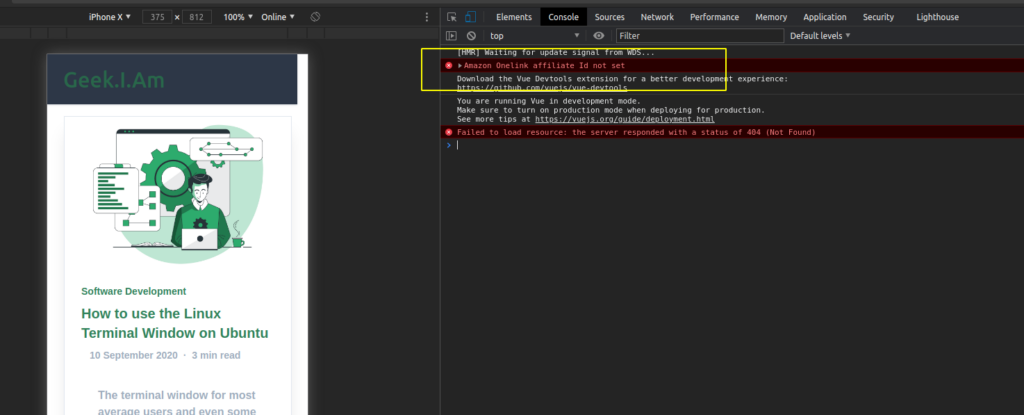
Now we run Gridsome Develop and open the Developers Tools in our browser and view the console log we will see the error message.
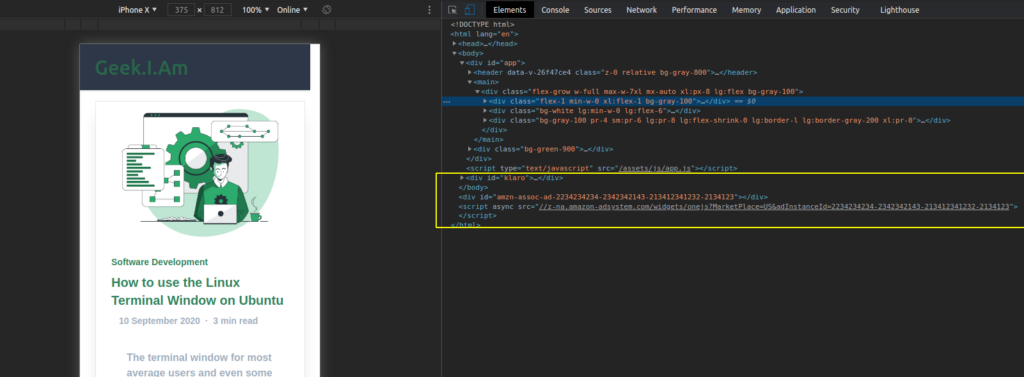
We can now stop the project then ensure we add the Amazon Onelink ID the rerun Gridsome Develop command and use developer tools to inspect the markup we'll see our new tags have been added successfully to the bottom of the page.
We can now publish this plugin to the NPM package repository in whichever way your CI/CD pipeline or configuration does it. I won't go into detail in this post about how to achieve this, as there are way too many options to cover.
In my case, I have a CI/CD pipeline configured using TeamCity a powerful continuous Integration and Deployment system from Jetbrains which will build and publish my package to NPM after I commit the code to my source code repository.
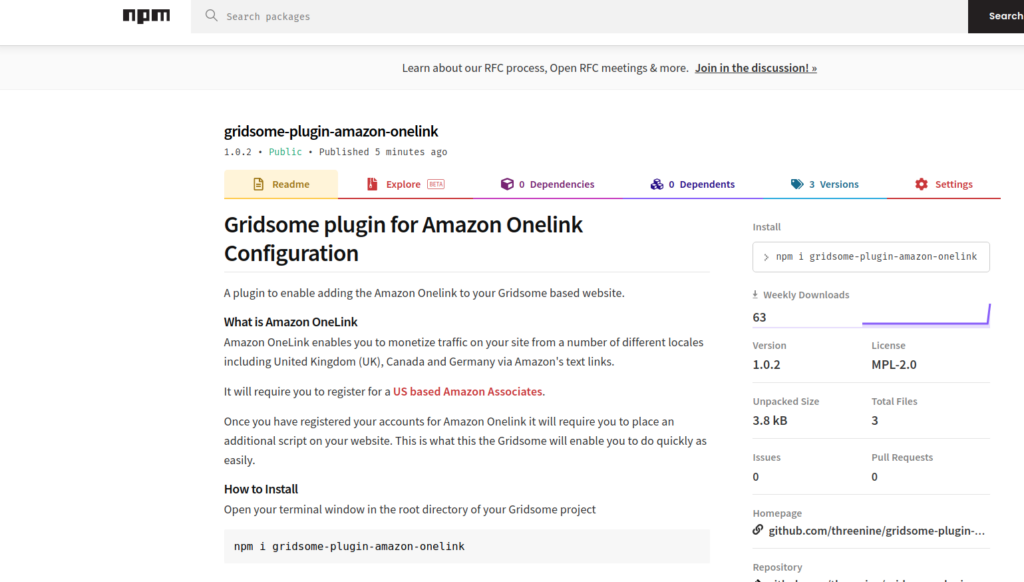
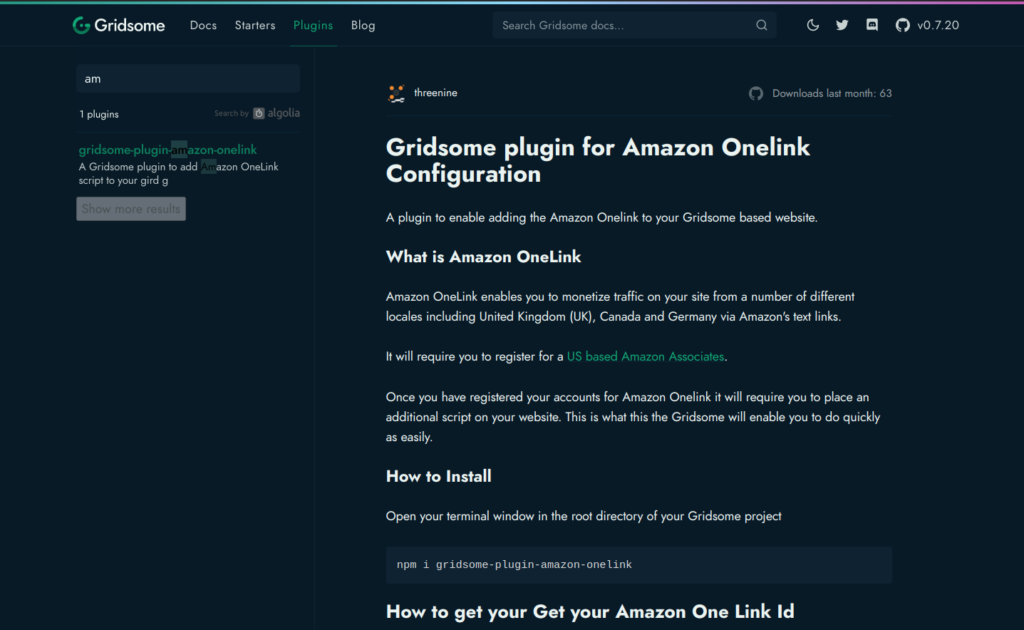
After the package has been published it a process within the Gridsome environment will pick up that a new Gridsome based plugin has become available and it will then be listed on the gridsome.org plugin directory
Conclusion
The process of developing a Gridsome Plugin is relatively easy once you gain an understanding of the basics and you can extend the functionality of Gridsome to accommodate whichever use case you need.
- What is this Directory.Packages.props file all about? - January 25, 2024
- How to add Tailwind CSS to Blazor website - November 20, 2023
- How to deploy a Blazor site to Netlify - November 17, 2023